18 Mini Mudroom Ideas That Prove You Don’t Need Much Space to Stay Organized
Here’s something designers know that most homeowners don’t.
A mudroom doesn’t need to be a room.
It doesn’t need 10 feet of built-in cabinetry. It doesn’t need a dedicated floor plan. It doesn’t need its own door or its own square footage or a contractor’s phone number.
What it needs is a system.
A place where coats land. Where shoes stop migrating. Where keys don’t disappear. Where backpacks have a home before they colonize the kitchen table. Where the daily chaos of leaving and coming back gets intercepted — every single time — before it swallows the rest of your house.
That system can live in a 3-foot stretch of hallway wall. It can happen inside an old coat closet with the door removed. It can fit in the corner beside your back door, in the space under your stairs, in the nook next to the garage entry. It can be completely freestanding — no drilling, no installation, no permanent anything.
The homes that feel organized and effortless? They almost all have one thing in common: a small, intentional drop zone right at the entry point. It doesn’t have to be big. It just has to exist.
These 18 mini mudroom ideas show you exactly how to create one — no matter how little space you’re working with.
Table of Contents
- The Peg Rail + Floating Shelf Stack — Maximum Storage, Minimum Footprint
- The Slim Floating Bench Mudroom — Just 10 Inches Deep
- Bold Color Mini Mudroom — Dark Paint, Tiny Space, Big Impact
- The Coat Closet Conversion — Remove the Door, Reveal the Mudroom
- Under-Stair Mini Mudroom — The Space Everyone Ignores
- The Corner Mudroom Nook — Turning Dead Angles Into Storage Gold
- Bold Wallpaper Mini Mudroom — When the Wall IS the Design
- Narrow Hallway Mudroom — Going Fully Vertical
- The Over-Door Mudroom System — Zero Wall Space Required
- Pegboard Mini Mudroom — Customizable, Flexible, Surprisingly Beautiful
- The Back Door Mini Mudroom — The Most Used Entrance, Finally Organized
- Two-Tone Beadboard Mini Mudroom — Small Space, Maximum Character
- The Garage Entry Mini Mudroom — From Chaos to Command Center
- Built-In Locker Nook — Slim, Custom, and Genuinely Impressive
- The Mirror + Console Table Mudroom — Stylish, Functional, No Bench Needed
- Mini Mudroom with Bold Tile Floor — Make the Floor Do the Design Work
- Kitchen Mudroom Wall — One Wall, Full Mudroom Function
- The Renter-Friendly Mini Mudroom — Freestanding, Removable, Beautiful
Before You Start: The 3-Zone Mini Mudroom System
Every great mudroom — even a tiny one — covers three functional zones. Get all three right and the space works. Miss one and clutter finds a way back in.
Zone 1 — The Hang Zone: Hooks at adult height (65–70 inches from floor) for coats, bags, and hats. If kids use the space, add a second row of hooks at 36–42 inches. This is the first thing you interact with walking in.
Zone 2 — The Store Zone: Baskets, cubbies, bins, or drawers for shoes, dog supplies, sports gear, gloves, and smaller items. Can be under a bench, in a basket below a shelf, or in cubbies beside hooks. This keeps the floor clear.
Zone 3 — The Drop Zone: A small surface — a shelf, the top of a bench, a console table top — for keys, mail, sunglasses, and the daily things that need to be findable on the way out. A small dish or tray on this surface stops things from spreading.
Once you know your three zones, any space — even 18 inches of hallway wall — can become a functioning mini mudroom.
The Ideas
Idea 1: The Peg Rail + Floating Shelf Stack — Maximum Storage, Minimum Footprint
This is the most space-efficient mini mudroom format that exists — and one of the most beautiful when done right.
The setup: a single floating shelf at 72 inches (for hats, baskets, seasonal items). A peg rail or hook rail at 65 inches (for coats and bags). A second peg rail or row of hooks at 40 inches (for kids or shorter items). A shallow floating shelf at 48 inches between the two hook rows for keys, a small plant, or a mail tray. Below all of this, a slim floating bench or a row of baskets on the floor.
Total depth from wall: 10–12 inches. Total width needed: as little as 24 inches. Total storage delivered: genuinely impressive.
The design key: Keep all the shelves and rail the same wood finish. That single decision makes a collection of separate pieces look like a considered, built-in system.
Hook spacing: Leave at least 8 inches between hooks so coats don’t overlap and flatten each other.
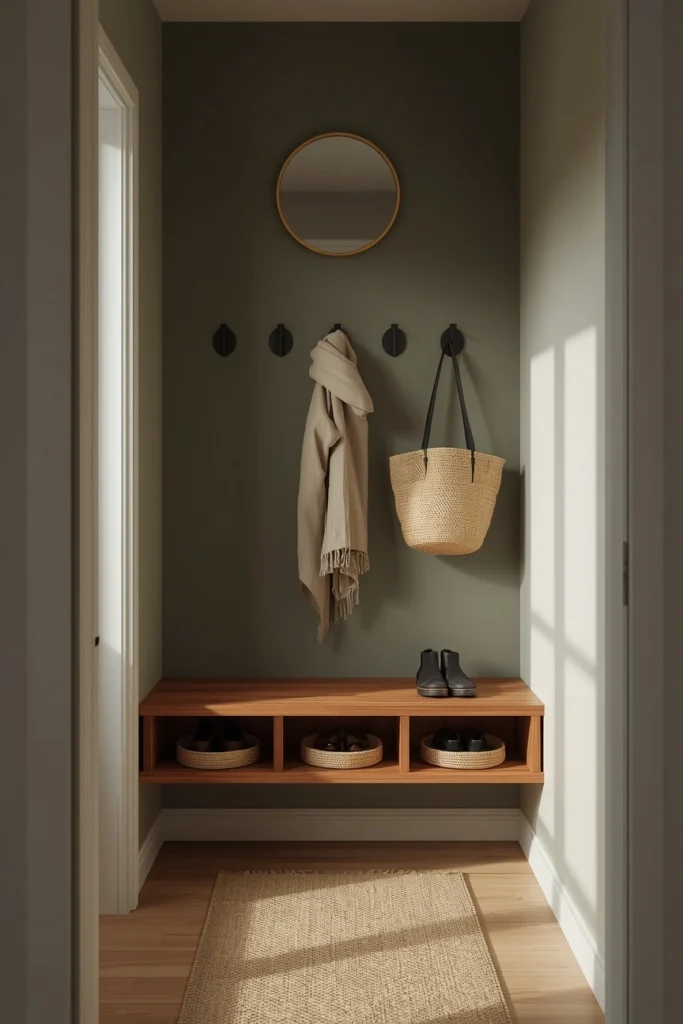
Idea 2: The Slim Floating Bench Mudroom — Just 10 Inches Deep
The single most important piece of furniture in a mini mudroom isn’t the hooks. It’s the bench.
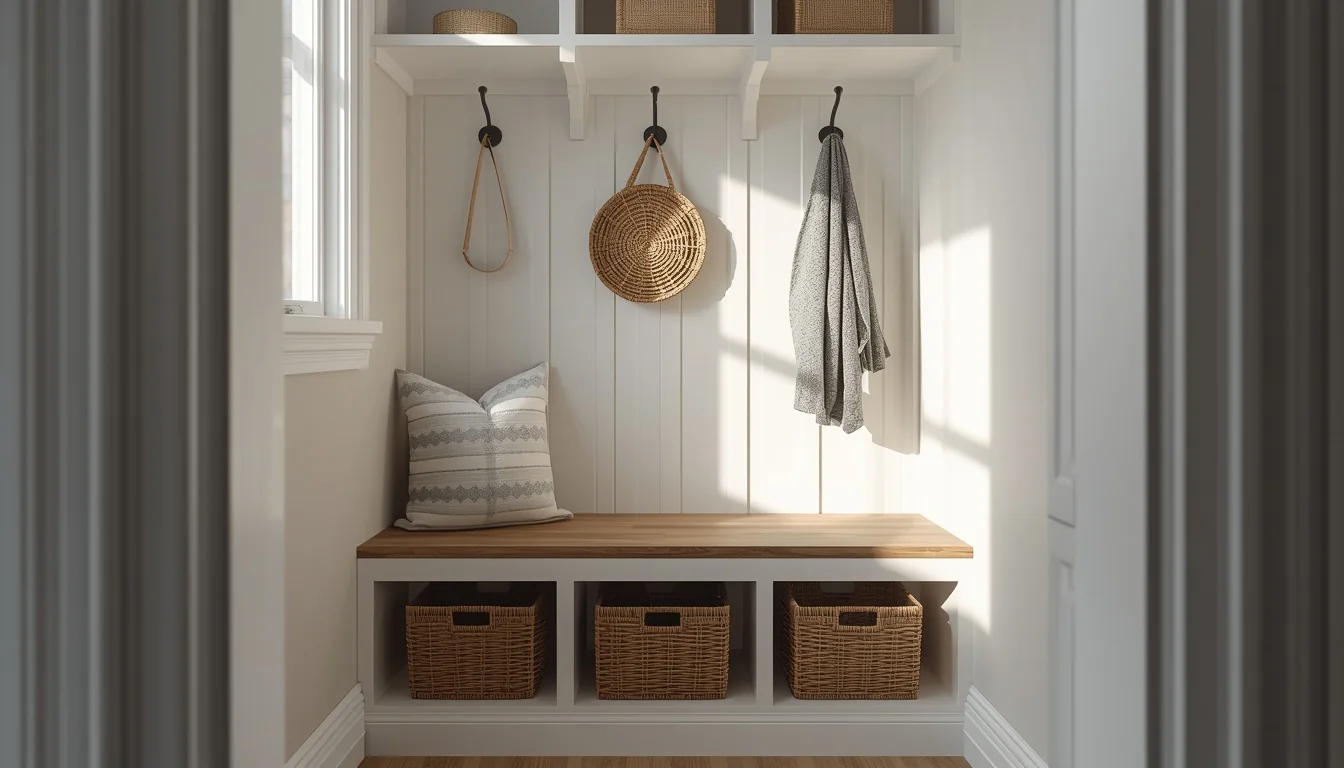
A floating bench — mounted directly to the wall studs, no legs, no floor footprint — solves two problems at once. It gives you a place to sit while taking shoes off (which means shoes actually come off instead of being shuffled further into the house). And the space underneath it becomes prime storage for a row of flat baskets, each holding one person’s shoes.
At 10 inches deep and 36–48 inches wide, a floating bench takes up almost no visual space while adding enormous function.
The magic underneath: Three or four flat woven trays slid under a floating bench, each labeled for a different family member, hold 4–6 pairs of shoes. It looks designed, keeps shoes off the floor, and takes up zero visible space when you’re not actively using it.
Height: Mount the bench seat at 18 inches from the floor — the standard comfortable sitting height. This also gives you exactly the right clearance for standard-sized flat baskets underneath.
Idea 3: Bold Color Mini Mudroom — Dark Paint, Tiny Space, Big Impact
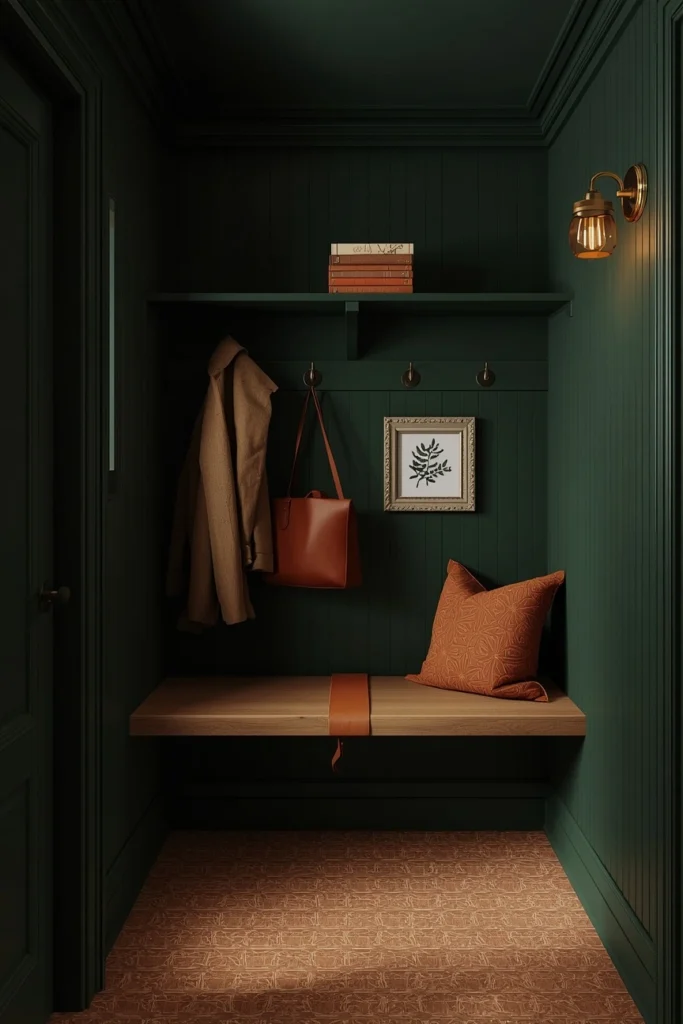
Here’s the counterintuitive truth about small mudrooms: dark, bold colors make them feel more intentional, not smaller.
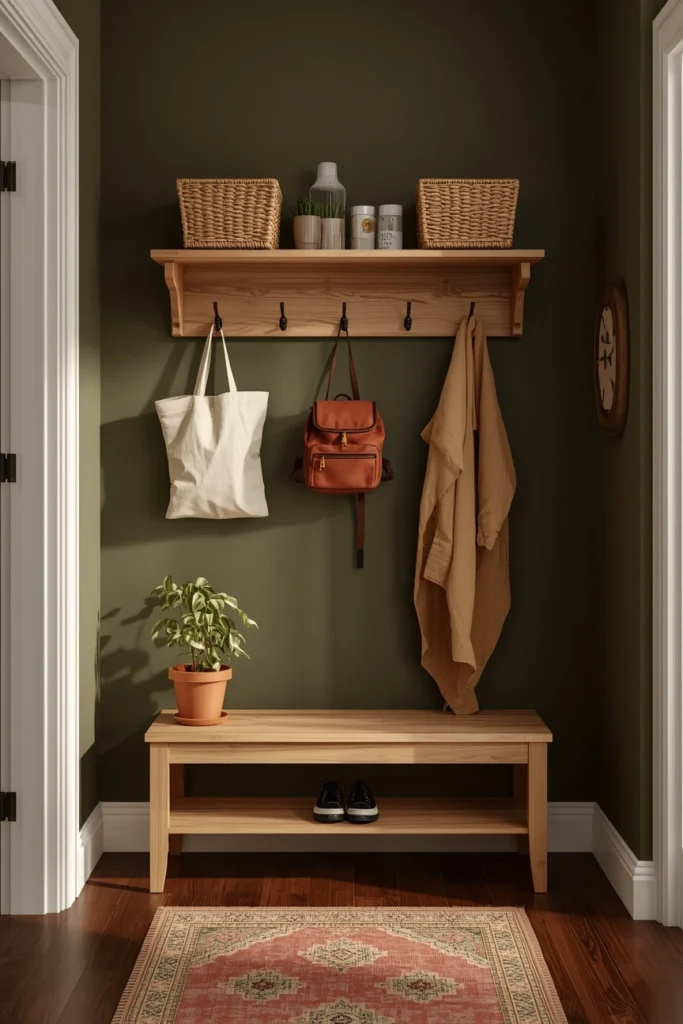
A tiny mudroom painted head-to-toe in deep forest green, inky navy, warm terracotta, or burnt umber becomes a moment — a deliberate, confident design choice that makes the space feel like it was planned rather than squeezed in. It stops being “the small hallway that couldn’t fit a proper mudroom” and starts being “the most interesting room in the house.”
Color-drenching — painting walls, trim, ceiling, and even shelves in the same deep tone — is especially effective in very small spaces. It erases the seams and borders that make a tiny room feel chopped up, and turns the whole thing into an immersive, moody nook.
Best bold colors for mini mudrooms in 2025:
- Farrow & Ball Hague Blue — deep, rich, not quite navy
- Benjamin Moore Salamander — forest green with real depth
- Sherwin-Williams Cavern Clay — terracotta that photographs beautifully
- Farrow & Ball Down Pipe — dark charcoal with warm undertones
- Benjamin Moore Black Pepper — near-black with just enough color
Idea 4: The Coat Closet Conversion — Remove the Door, Reveal the Mudroom
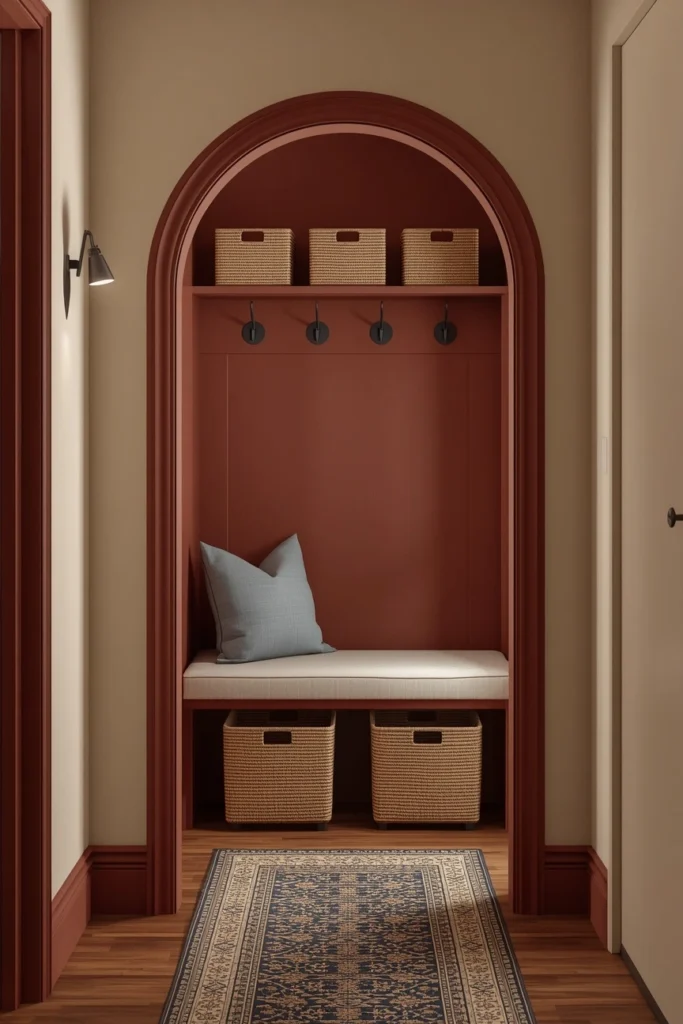
The single best mini mudroom hack in existence — and almost nobody does it.
If your home has a coat closet near the front or back door, you already have a mudroom. You just haven’t unlocked it yet.
Remove the closet doors (keep the hardware — you might want them back). Pull out the old hanging rod and shelf. Paint the interior in a color that’s different from the hallway — this visually defines it as a deliberate nook. Install hooks on the back wall at two heights. Add a small bench or cube seat inside. Mount floating shelves on the side walls for baskets. Drop in a runner rug that extends slightly out past the opening.
The result is a genuine mini mudroom in existing square footage. Zero addition to the house. One weekend of work. Transformative.
The arch trick: Adding a painted or wallpapered arch around the closet opening — either DIY with paint and a stencil or using peel-and-stick wallpaper in an arch shape — turns a basic closet opening into something that looks architecturally intentional.
Idea 5: Under-Stair Mini Mudroom — The Space Everyone Ignores
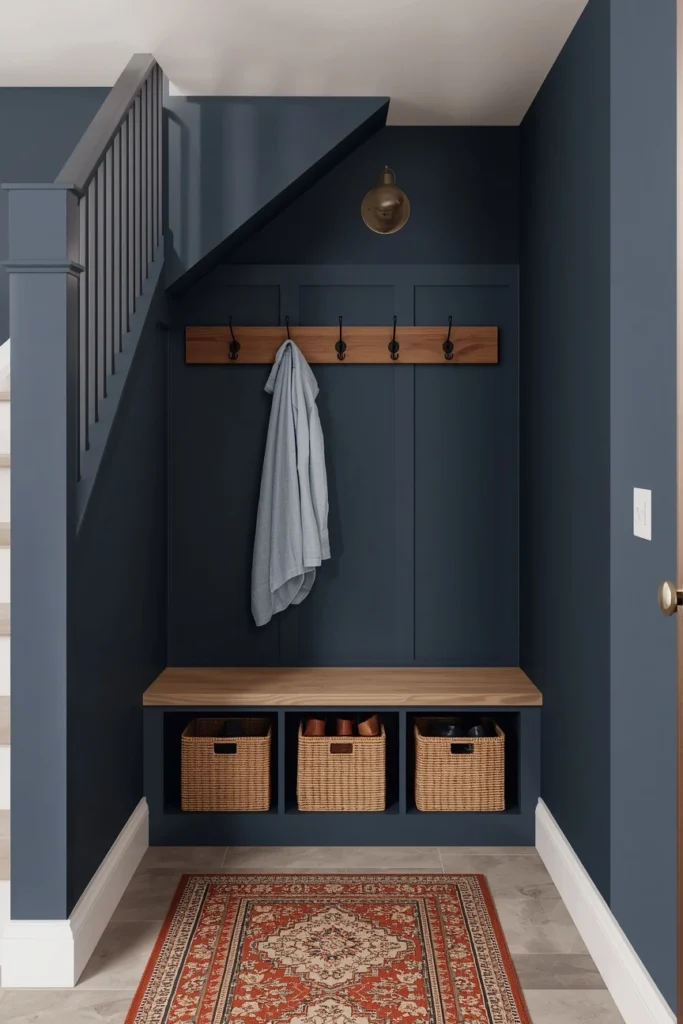
The angled wall under a staircase is arguably the most wasted space in an average home. And it’s also perfectly sized for a mini mudroom.
The natural geometry of an under-stair space — tall at one end, short at the other — actually works in your favor. Use the tall end for full-length coat hooks and a standing umbrella stand. Use the medium zone for the bench and hook system. Use the low, sloped area for shoe storage — flat baskets work perfectly here because they slide under the slope.
What makes it look designed instead of improvised:
- Paint the entire under-stair nook in one contrasting color so it reads as a deliberate zone
- Add proper lighting — a plug-in sconce or battery-operated LED strips under each shelf make the space feel considered even when natural light doesn’t reach
- Use consistent basket styles throughout so the mix of heights and depths feels cohesive
- Add a small rug that defines the nook floor area
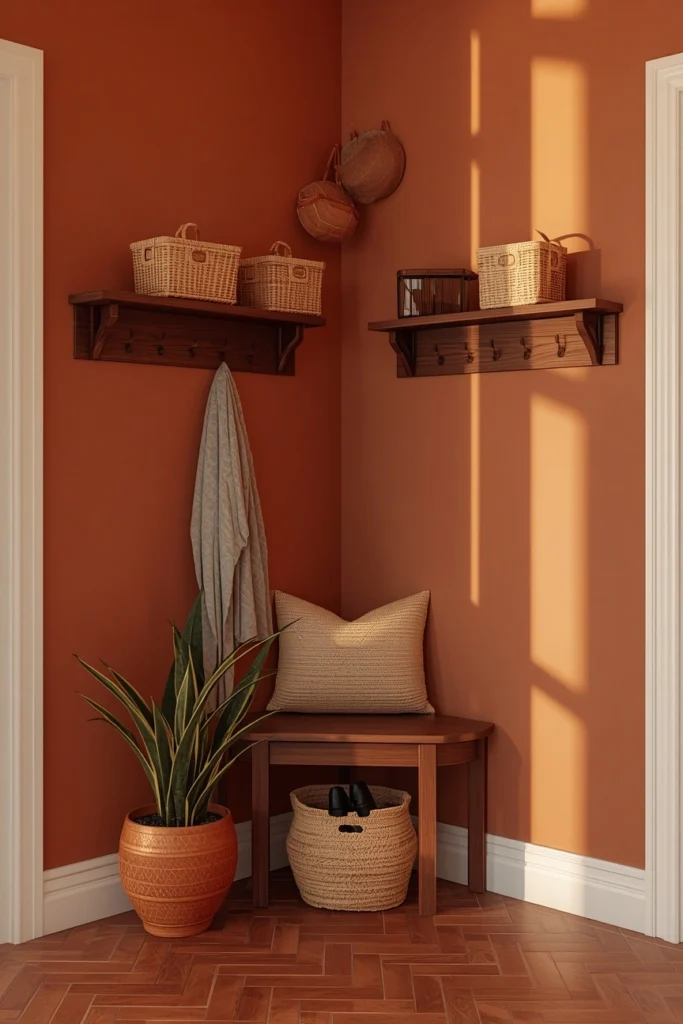
Idea 6: The Corner Mini Mudroom — Turning Dead Angles Into Storage Gold
Corners are the forgotten real estate of small homes. Most people put nothing there because nothing standard fits. But corners are actually ideal for a mini mudroom — here’s why.
A corner position gives you two walls to work with instead of one. That doubles your hook capacity, your shelf space, and your visual impact. A corner bench — either a custom-built L-shape or a triangular corner unit — gives seating and storage without extending into the room at all.
The L-shape corner system: Mount hook rails on both walls, meeting at the corner. Add floating shelves above on both walls for basket storage. Below: a corner bench or simple floor baskets.
The simplest corner mudroom: Two peg rails (one on each wall, meeting at the corner) + a triangular corner shelf above + a small corner bench or cube + a runner rug angled across the corner. Total cost: under $150. Total impact: completely transforms an empty corner.
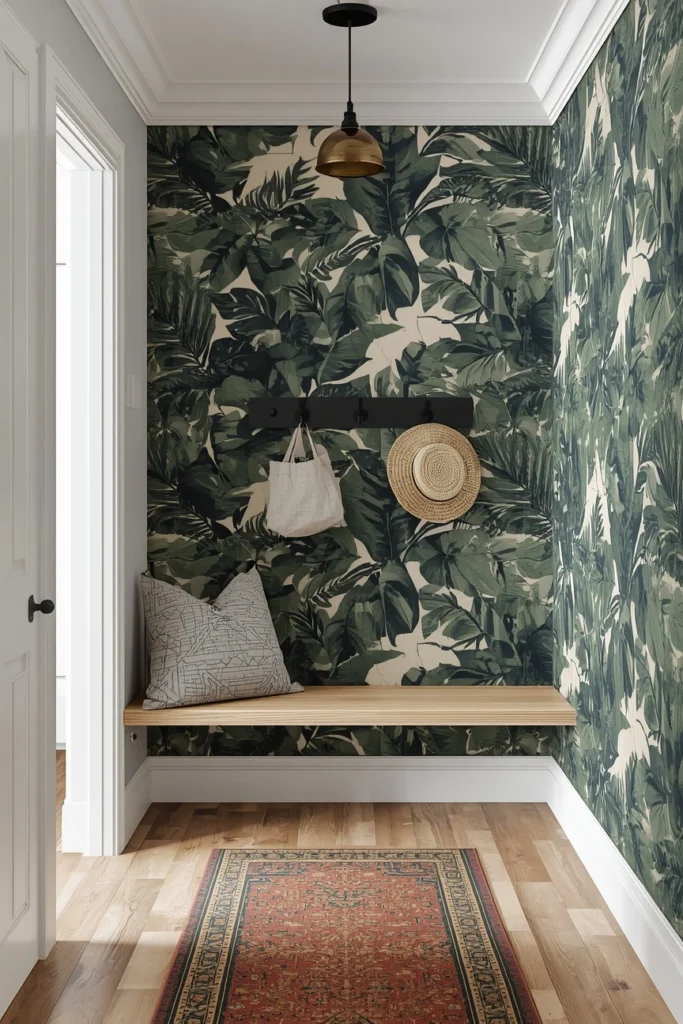
Idea 7: Bold Wallpaper Mini Mudroom — When the Wall IS the Design
Small spaces are the single best place to use bold wallpaper. The scale is manageable, the cost is low, and the impact is completely disproportionate to the effort.
A mini mudroom with a dramatic botanical print, a graphic Art Deco geometric, or a dense vintage floral becomes immediately memorable. The wallpaper signals that the space was intentional — that someone cared enough to design even this tiny passage.
Keep everything else simple. White trim. Simple matte black hooks. A natural wood bench. A plain runner rug. The wallpaper carries it all.
Wallpaper types that work especially well in mini mudrooms:
- Dense botanical leaf patterns in deep greens and blues (earthy, dramatic)
- Geometric prints in terracotta and cream (warm, graphic, non-fussy)
- Vintage floral in deep plum and forest green (moody, maximalist)
- Block-print inspired patterns (authentic texture, slightly imperfect character)
Renter note: Peel-and-stick wallpaper has gotten genuinely good. Brands like Chasing Paper, Spoonflower, and Tempaper make repositionable patterns in exactly the bold, rich designs a mini mudroom needs.
Idea 8: Narrow Hallway Mudroom — Going Fully Vertical
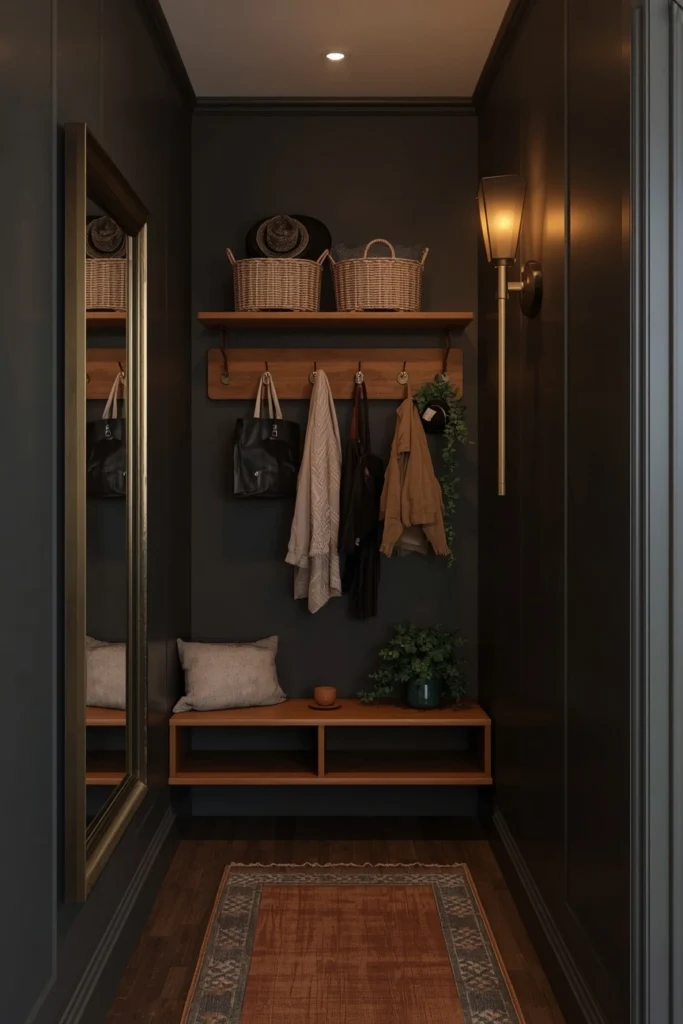
Some entryways are not small — they’re narrow. There’s enough linear length but barely enough width to pass through comfortably, let alone fit furniture.
For these spaces, the answer is going fully vertical on the walls and keeping the floor completely clear.
No bench. No freestanding furniture. Everything wall-mounted — hooks, shelves, a key tray, a mirror, a basket or two hung from pegs. The floor stays open, which makes the hallway feel wider.
The three-tier vertical system for a narrow hallway:
- Top tier (72–84 inches): High floating shelf for seasonal items, spare bags, holiday decorations. Rarely accessed, so height isn’t an issue.
- Middle tier (55–68 inches): Main hook rail with at least 5 hooks. This is the daily-use zone — it needs to be the most generous in capacity.
- Lower tier (36–48 inches): Second hook row for kids OR a lower floating shelf for baskets. Choose based on who’s using the space.
The mirror trick for narrow hallways: A slim rectangular mirror on the wall opposite the hook system reflects the storage wall and doubles the perceived width of the hallway. It also gives you one last look before leaving the house.
Idea 9: The Over-Door Mudroom System — Zero Wall Space Required
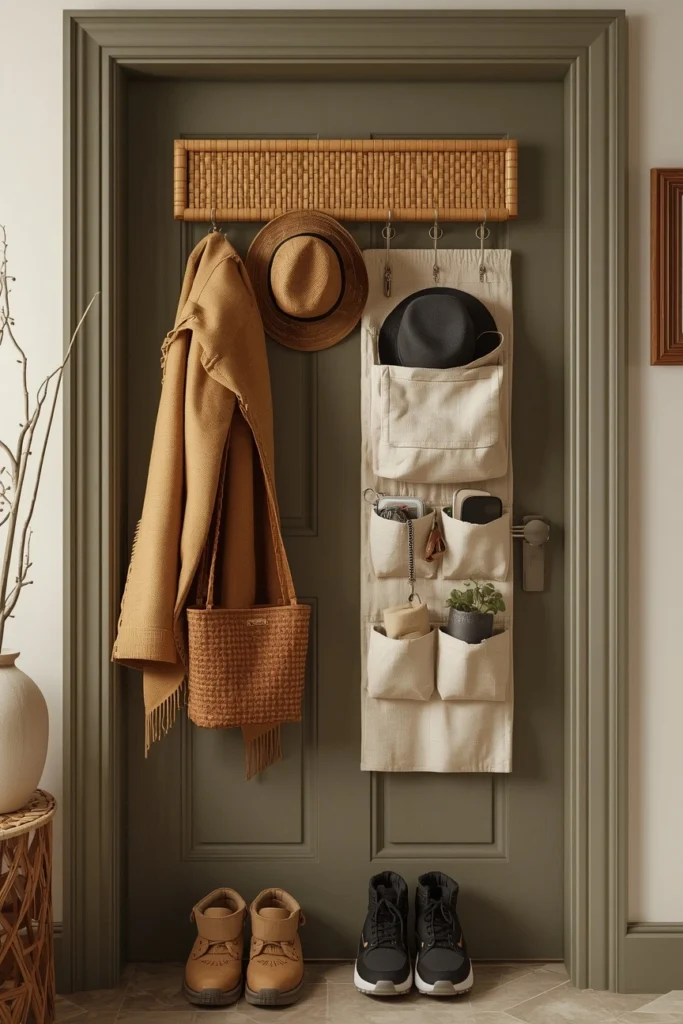
When the walls literally have nothing to offer — you’re in a rental, the wall is shared, there’s a heating vent right where the hooks should go — the back of your door becomes your mudroom.
Over-door organizers have come a long way from the plastic wire racks of the past. Today you can find:
- Rattan and seagrass over-door pocket organizers that look genuinely beautiful
- Wooden over-door hook bars with 4–6 substantial hooks
- Over-door shoe organizers in canvas or linen
- Over-door shelf units with multiple tiers for baskets
The full over-door mini mudroom: an over-door hook bar at the top (coats, bags), a fabric pocket organizer in the middle section (keys, gloves, dog leash, mail), and an over-door shoe organizer at the bottom. Everything on one door. Nothing on the walls. Removes completely when you move.
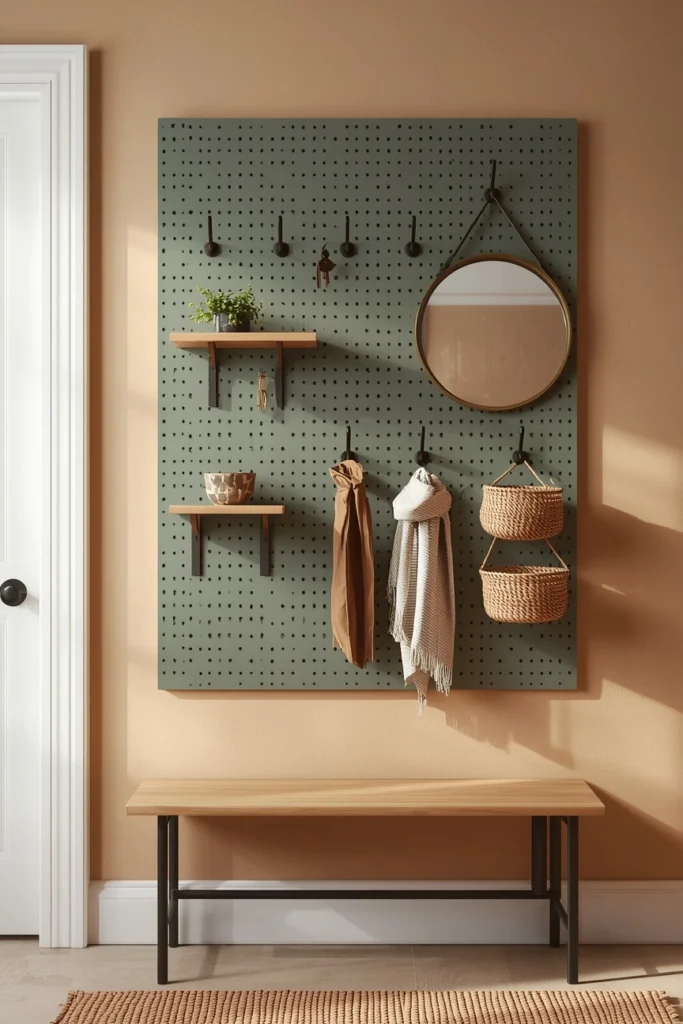
Idea 10: Pegboard Mini Mudroom — Customizable, Flexible, Surprisingly Beautiful
The pegboard’s reputation suffers from decades of garage workshops. But used right — with the correct hardware, the right paint color, and intentional styling — a pegboard mini mudroom is one of the most flexible and visually interesting small entryway solutions available.
Paint the pegboard in a rich, non-neutral color — deep sage, dusty terracotta, warm charcoal — before mounting it. This transforms it from “workshop leftover” to “designed feature wall.” Then use a mix of hook types, small wooden shelves that mount into the pegs, small baskets that hang from pegboard hooks, and even a small mirror mounted through the board.
The beauty of pegboard is its infinite rearrangeability. As your family grows or your storage needs shift, you literally just move the hooks.
Pegboard sizing for a mini mudroom: A 24″ x 48″ panel is the minimum useful size. A 48″ x 48″ or larger panel becomes a genuine feature wall that competes with built-in cabinetry for function.
Idea 11: The Back Door Mini Mudroom — The Most Used Entrance, Finally Organized
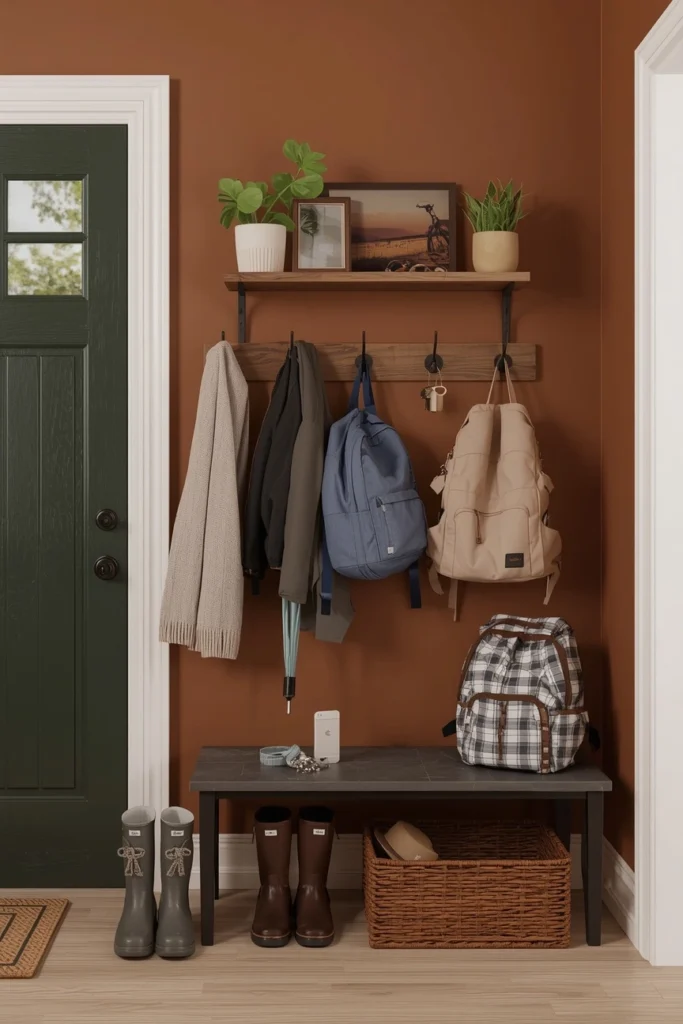
Most families don’t use the front door. They use the back door — the one that goes through the kitchen, or the laundry room, or straight out to the garage. And it’s almost always the most chaotic, least organized entrance in the house.
That’s the one worth fixing.
The back door mini mudroom is about function over aesthetics — but it can be beautiful too. A simple wall-mounted hook system beside the door. A small shoe tray or bench on the floor for wet boots. A basket for dog leads, umbrellas, and sports balls. A basket for each child, labeled, at their height.
Because this door sees daily use by people who are often in a hurry, the system needs to be absolutely simple to use. One hook per person. One basket per person. No sorting, no organizing — just drop and go.
The most functional back door mudroom addition of all: A small charging station — a wall-mounted wooden shelf at key height with a power strip and a few labeled charging slots. It’s the last thing you check before leaving and the first thing you plug in coming back.
Idea 12: Two-Tone Beadboard Mini Mudroom — Small Space, Maximum Character
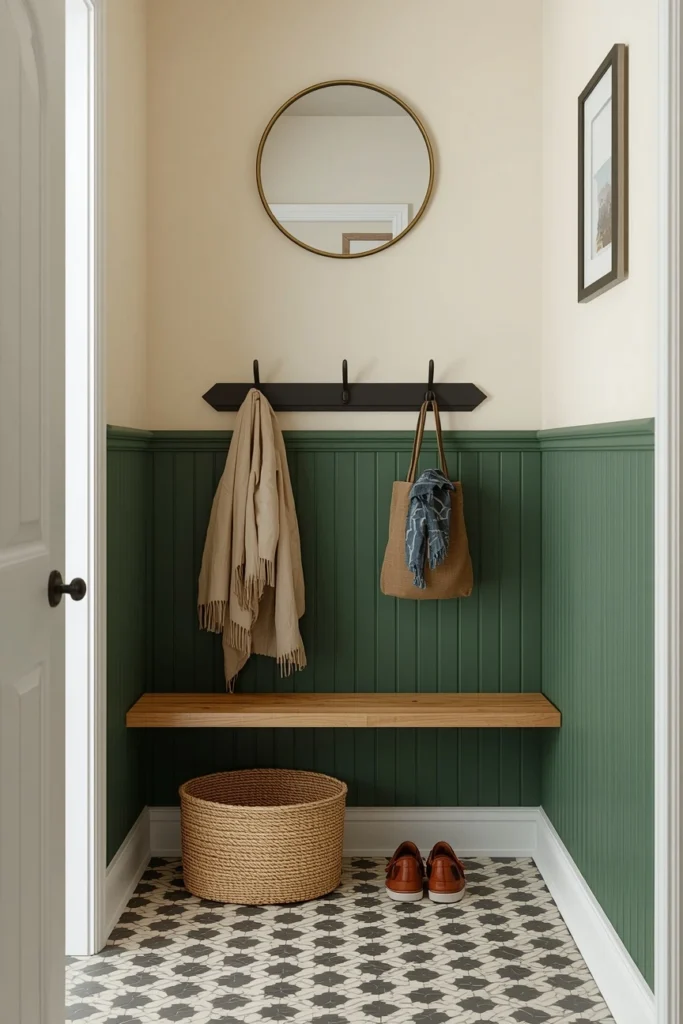
Beadboard has a quiet, reliable charm — and in a mini mudroom, it does double duty as both wall treatment and scuff protection. But where most people stop at plain painted beadboard, the two-tone version takes it somewhere genuinely special.
The formula: paint the lower beadboard section in a deep, rich color — forest green, inky navy, warm terracotta, dark plum. Paint everything above the chair rail line in a lighter, complementary neutral. The result is a small space with tremendous visual character, and the dark lower half hides the inevitable scuffs, drips, and boot marks that any mudroom accumulates.
The practical bonus: Dark lower walls and beadboard genuinely hide dirt better than any other mudroom wall treatment. It’s not just beautiful — it’s the most low-maintenance option for a high-traffic space.
Two-tone color pairings that work:
- Deep hunter green below + warm cream above
- Dusty navy below + warm white above
- Burnt rust below + sandy beige above
- Dark charcoal below + pale sage above
Idea 13: The Garage Entry Mini Mudroom — From Chaos to Command Center
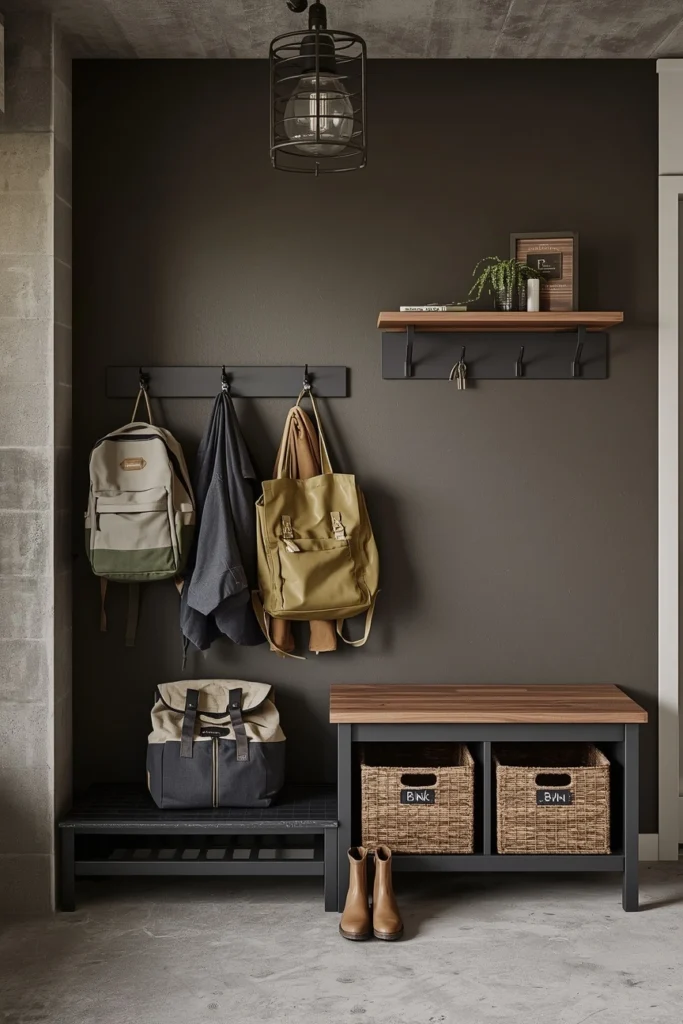
The door between the garage and the house is the true epicenter of family chaos. Sports gear, school bags, wet shoes, forgotten lunches, dog leashes, sports equipment, and approximately 400 individual socks all converge here and then spread into the rest of the house.
A mini mudroom at this transition point is one of the highest-impact organizational upgrades you can make. You don’t need a big space — you need a clear system right at the door.
The garage entry mini mudroom system:
- Wall beside the door: Double hook rail — adults up top, kids below
- Floor at the door: A durable rubber or slate boot tray for wet, muddy shoes that stays right there
- Small shelf above hooks: For keys, wallet, sunglasses — the things that need to be findable immediately
- Labeled baskets in a low cubby or shelf: One per family member for their miscellaneous items
- Optional charging shelf: Wall-mounted, at waist height, with a power strip concealed inside a wooden box
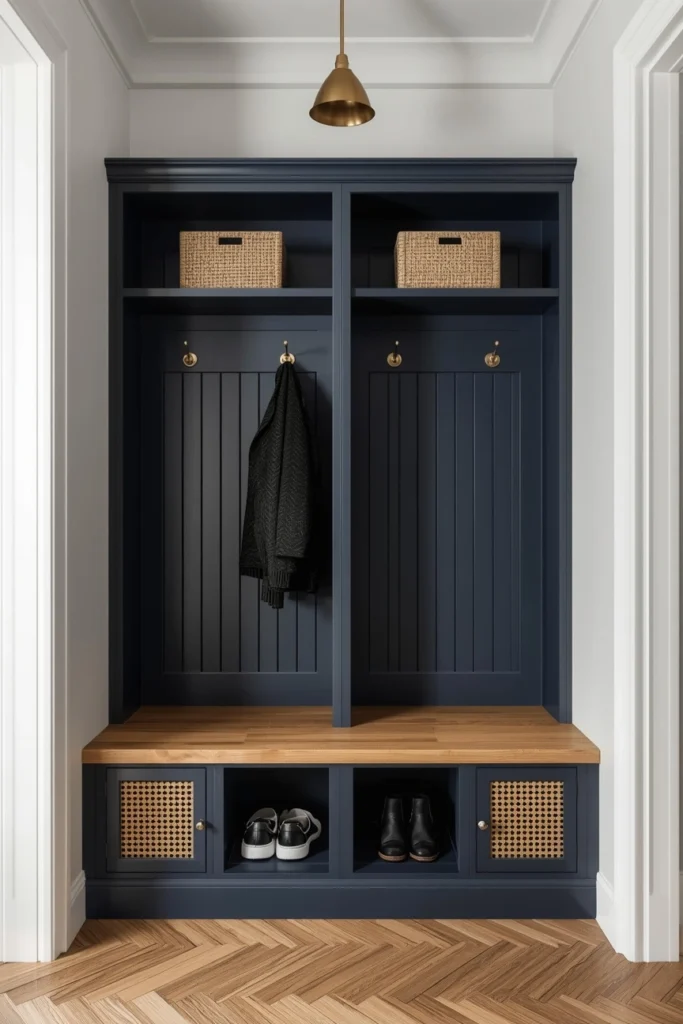
Idea 14: Built-In Locker Nook — Slim, Custom, and Genuinely Impressive
When you’re ready to go slightly beyond the quick-fix approach, a slim built-in locker nook delivers the look of a full mudroom in as little as 24 inches of width and 12 inches of depth.
The anatomy of a locker nook: a floor-to-ceiling panel with a coat hook at the top, a bench section at the middle, a cubby below the bench for shoes, and a small shelf above the hook for a basket or hat. Multiple units side by side give each family member their own designated zone — which is the single most effective organizational strategy for families.
The built-in look can be achieved without a contractor. IKEA PAX wardrobes with custom doors, or pre-built locker units from home stores, can be installed by a confident DIYer in a weekend.
Paint the built-ins. A locker unit painted in deep navy, warm olive, or charcoal reads as far more custom and considered than the natural wood or white factory finish.
Idea 15: The Mirror + Console Table Mudroom — Stylish, Functional, No Bench Needed
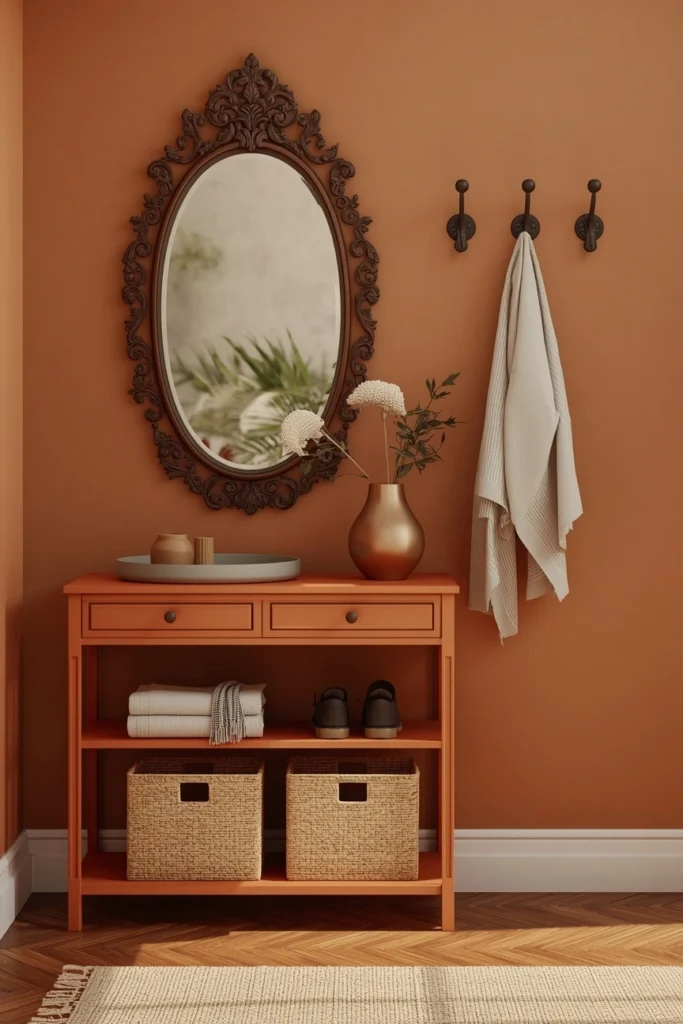
Not every mini mudroom needs a bench. Sometimes the most beautiful and functional setup is the simplest one: a slim console table, a large mirror above it, a row of hooks beside it.
This approach works in entryways that are too narrow for a bench — anything under 24 inches of clearance. A console table at 10–14 inches deep sits almost flat against the wall. The mirror above it visually doubles the space. Hooks to one side hold coats and bags. The console table top becomes the drop zone for keys and mail. Baskets or a lower shelf on the console table hold shoes.
The style opportunity here is significant. A beautiful antique console, a modern marble-top table, a painted rattan console — the table is the statement piece, and it brings genuine furniture-level design to what would otherwise be a purely functional zone.
Idea 16: Mini Mudroom with Bold Tile Floor — Make the Floor Do the Design Work
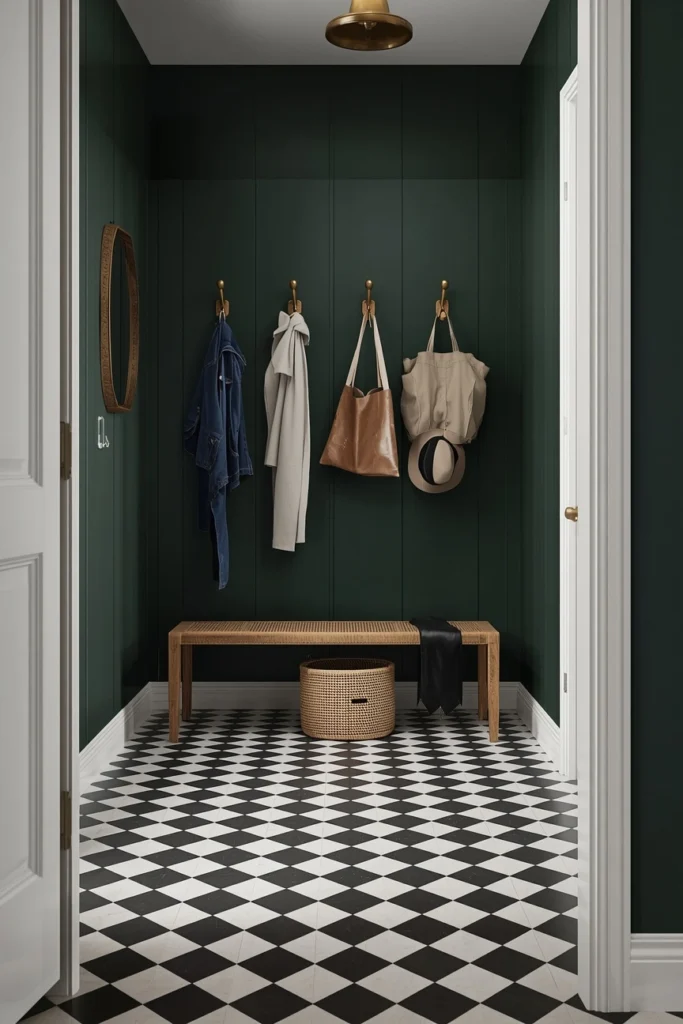
Sometimes the walls are too narrow, the ceiling too low, the space too constrained for a bold design move in the vertical plane. In those cases — make the floor the feature.
A bold tile floor in a mini mudroom creates a visual boundary that defines the space as a distinct zone, even without walls or built-ins surrounding it. Checkerboard black and white, terracotta hexagon, Moroccan cement tile, graphic encaustic pattern — any of these on the floor signals to anyone entering: this is a specific place. Leave your shoes here. Put your things here.
Best tile choices for mini mudrooms by aesthetic:
- Classic black-and-white checkerboard: works in any style, always looks designed
- Terracotta hexagon: warm, earthy, utterly beautiful with dark grout
- Cement encaustic tile: pattern-rich, globally inspired, excellent for boho or eclectic spaces
- Terrazzo: speckled, modern, hides dirt remarkably well
- Herringbone brick tile: rustic, textural, farmhouse-forward
Idea 17: Kitchen Mudroom Wall — One Wall, Full Mudroom Function
Not every home has a dedicated entry point near a hallway or closet. Some homes open directly from the garage into the kitchen. Some apartments enter straight into the living space.
In these cases, designating one kitchen wall as the “mudroom wall” is the answer.
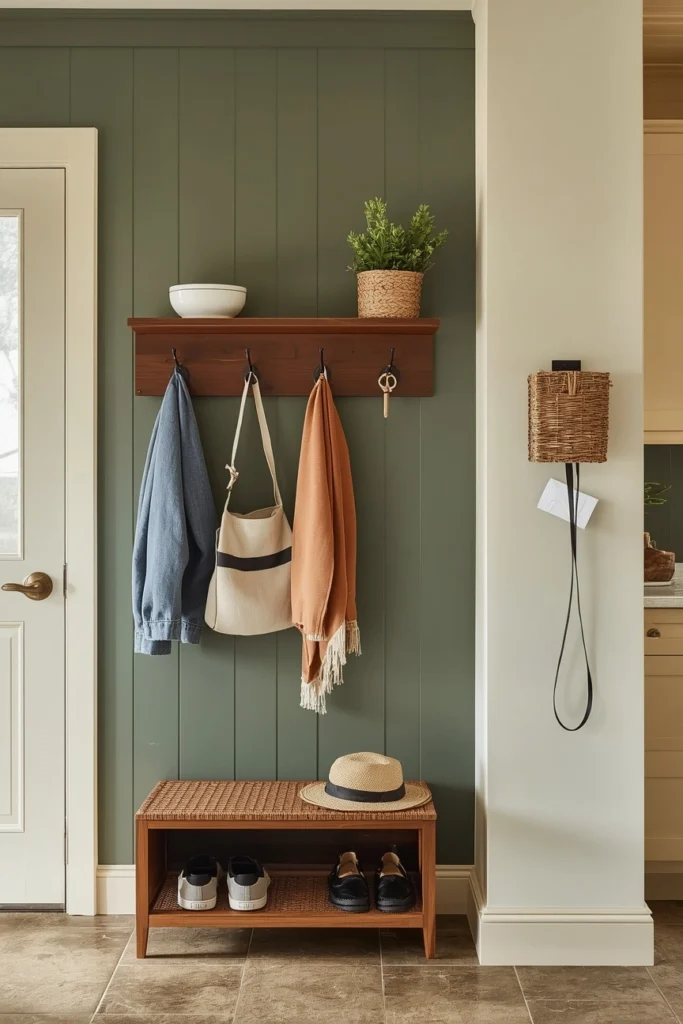
Choose the wall closest to the main entry point. Mount a hook system — at minimum, a peg rail or hook bar. Add a floating shelf above for a basket and key tray. Install a slim bench below if the kitchen layout permits — if not, a corner of the kitchen floor with a flat shoe tray works. Add a small cabinet or woven basket system for daily items.
The visual key in a kitchen mudroom wall: paint it a different color from the rest of the kitchen, or add a different wall treatment (beadboard, shiplap, a strip of wallpaper). The color differentiation signals that this section is the “mudroom zone” even though it’s technically kitchen real estate.
Idea 18: The Renter-Friendly Mini Mudroom — Freestanding, Removable, Beautiful
The complete renter-friendly mini mudroom can be built entirely from freestanding, removable pieces. Nothing drilled into walls. Nothing left behind when you move. And — done right — it looks just as good as a built-in system.
Here’s the complete setup:
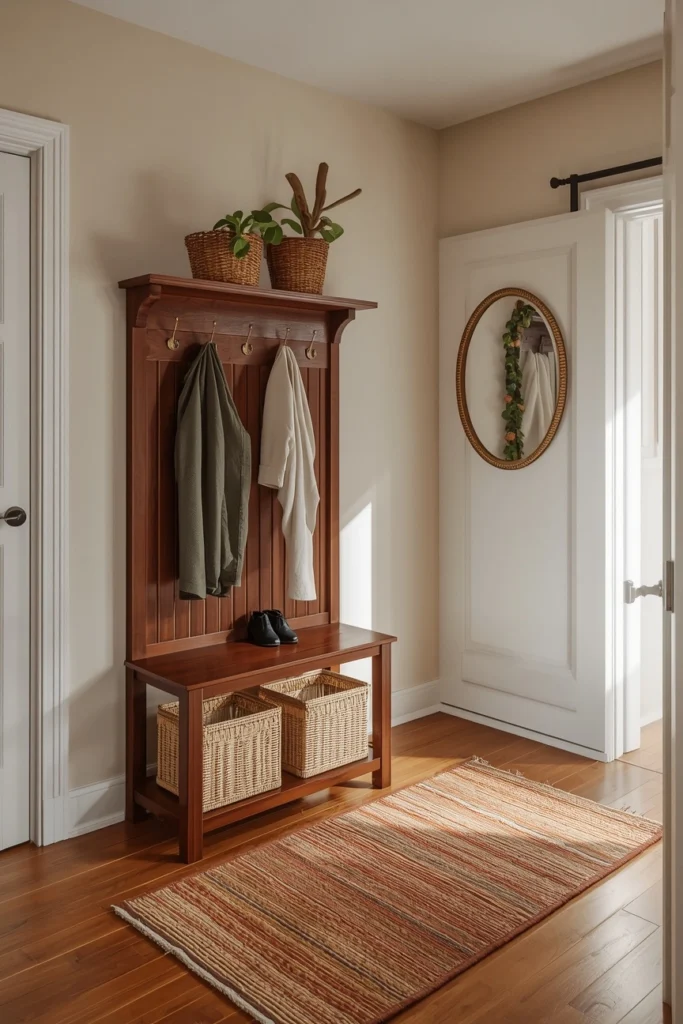
Piece 1 — The hall tree ($80–$200): A freestanding hall tree in rattan, painted wood, or dark walnut gives you hooks, a shelf, and often a small bench in a single freestanding unit. Placed beside the door, it immediately creates a mudroom zone.
Piece 2 — The rug ($30–$70): A runner rug in front of the hall tree defines the zone visually and catches dirt. This is not optional — it’s what makes the area feel deliberate rather than incidental.
Piece 3 — The leaning mirror ($40–$120): A large mirror leaned against the wall beside the hall tree does three things: it expands the visual space, it gives you a last-look before heading out, and it makes the whole setup look like a designed entryway rather than a piece of furniture parked by a door.
Piece 4 — The baskets ($15–$40): Two or three baskets on the floor beside the hall tree for shoes, bags, and pet supplies. Matching baskets make the floor-level look organized even when life isn’t.
Piece 5 — The over-door hooks ($10–$25): A simple over-door hook bar on the back of the front door gives you 4–6 additional hooks for overflow, seasonal items, or a second person’s daily coat.
Total investment: $175–$455. Completely moveable. Looks genuinely designed.
The Mini Mudroom Design Rules That Actually Matter
These aren’t optional suggestions. These are the things that separate mini mudrooms that work from the ones that become just another surface for clutter.
- Go vertical first, always. In a small space, the floor is precious. Every hook, shelf, and basket you can get off the floor and onto the wall is a win. Think ceiling to floor — not just eye level.
- Every person needs their own hook. Communal hooks fail. They fill with whoever got there first and nothing else can land. One dedicated hook per family member — labeled if needed — is the single most effective organizational decision in a mudroom.
- The floor must be clear. A small mudroom with things on the floor looks chaotic regardless of how beautiful the walls are. Every item that lands on the floor needs a designated spot — a basket, a tray, a cubby, a rack — or it doesn’t belong in the mudroom.
- Dark colors hide dirt. This is not an aesthetic preference — it’s practical truth. Dark walls and dark flooring in a mudroom dramatically reduce visible dirt, smudges, and scuffs. A white mudroom requires constant cleaning. A deep green or navy mudroom hides everything.
- Lighting is not optional. Many entryways and hallways have the worst lighting in the house — a single dim fixture or no natural light at all. A warm pendant, a wall sconce, or even a plug-in lamp changes the entire feel of the space. Without good light, no amount of great storage and styling will make the mudroom feel welcoming.
- Mirrors make small spaces bigger. An oval or rectangular mirror — hung or leaning — is the most effective space-expanding tool in a mini mudroom. It reflects light, doubles the perceived width, and adds a finish that makes the space feel considered.
Mini Mudroom Storage Ideas That Punch Above Their Weight
Labeled baskets: The single fastest upgrade. Three identical seagrass baskets with small leather tags reading each family member’s name turn a chaotic shelf into an organized system instantly.
Double hooks: Always choose double-pronged hooks over single ones. The outer hook holds the coat, the inner hook holds the bag. Double the storage, same wall footprint.
Foldable hooks: In very tight spaces, foldable hooks that lie flat when not in use (the Umbra Flip Hook is the most popular) are genuinely useful. They collapse against the wall until needed.
Under-bench shoe trays: Flat woven trays or boot trays slid under a bench hold shoes neatly without requiring any shelving installation. Removable for cleaning.
Magnetic key hooks: A slim magnetic strip mounted under a floating shelf holds keys without any dish or tray. They’re always visible, always accessible, and take up zero horizontal surface space.
Over-door pockets: A linen or canvas over-door organizer on the back of the entry door holds dog leashes, masks, gloves, sunglasses, mail, and all the small daily-carry items that otherwise pile on flat surfaces.
Common Mini Mudroom Mistakes to Avoid
Installing too few hooks. The most common mistake. People install three hooks for a four-person family and wonder why things pile on the floor. Count the number of coats, bags, and hats that actually need a home — then add two more hooks than that number.
Ignoring the ceiling height. Most people put hooks at 65 inches and shelves at 72 and call it done. But in a small space with an 8 or 9-foot ceiling, there’s usable storage from 72 inches up to the ceiling — seasonal bins, extra baskets, rarely used items. A small step stool and a top shelf doubles the storage without touching the floor.
Choosing furniture that’s too big. A standard 20-inch-deep console table in a 30-inch-wide hallway leaves 10 inches to pass through. A 10-inch-deep console table leaves 20 inches. Depth matters more than any other dimension in a narrow space.
Skipping the rug. Without a rug, a mini mudroom doesn’t visually exist — it’s just hooks and a bench in a hallway. The rug defines the zone. It also protects the floor and hides dirt. It’s never optional.
Making it too matchy. A mini mudroom where every single element is from the same store, in the same finish, with matching labels looks like a catalog display. Mix wood tones slightly. Vary basket textures. Add one vintage or handmade element. That’s what makes it look personal rather than purchased.
How to Create a Mini Mudroom in One Weekend: Step-by-Step
This works for almost any small space — no contractor required.
Saturday morning — Measure and plan (1 hour): Measure your available wall width and the height from floor to ceiling. Identify your three zones (hang, store, drop). Decide what’s going on the walls versus the floor.
Saturday midday — Shop or order (2–3 hours or overnight delivery): At minimum, you need: hooks, a floating shelf, baskets for shoes, and a rug. Optional but impactful: a bench, a mirror, a second shelf. Everything can be found at IKEA, HomeGoods, Amazon, or your local hardware store.
Saturday afternoon — Paint if using color (2–3 hours including dry time): One wall in a rich, bold color takes 2 hours to paint and 2 hours to dry. This is the highest-impact single thing you can do. If not painting, skip this step.
Sunday morning — Install (2–4 hours): Mount hooks first. Then shelves. Then mirror. Then bench if applicable. Use a level — nothing ruins the look of a mini mudroom like crooked shelves.
Sunday afternoon — Style and fill (1 hour): Add baskets. Put items away. Add the rug. Add one plant. Step back.
Total time: One weekend.
Total cost range: $80 (peg rail + rug + baskets only) to $500 (floating bench + built-in-look shelving + bold paint + mirror).
FAQs
Conclusion
The most organized homes don’t have the biggest mudrooms.
They have a system — and they put it right where they need it most.
Three feet of hallway wall. A converted coat closet. A corner that used to hold nothing. The space under the stairs. The wall beside the back door. All of these are enough. All of them can hold hooks, baskets, a bench, a mirror, and the daily chaos of a real family’s real life — organized, contained, and genuinely beautiful.
You don’t need a mudroom addition. You don’t need a contractor. You need a plan, a weekend, and the conviction that even the smallest space deserves to be thoughtfully designed.
Pick your spot. Pick your idea. And make even the tiniest corner of your home work as hard as you do.