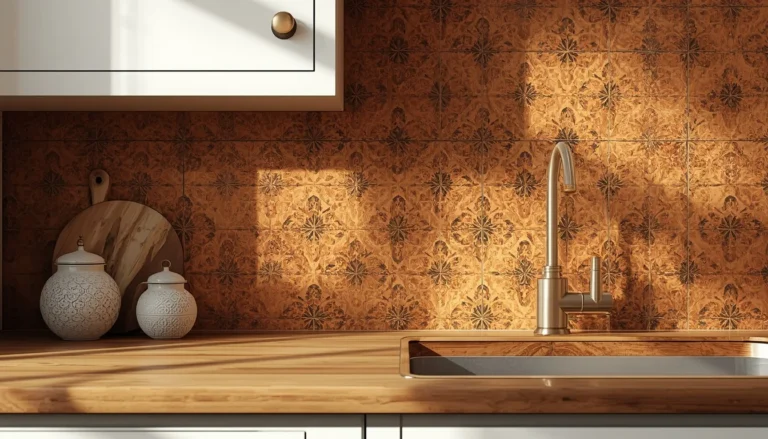
25 Kitchen Island Ideas That Steal the Show in Every Home
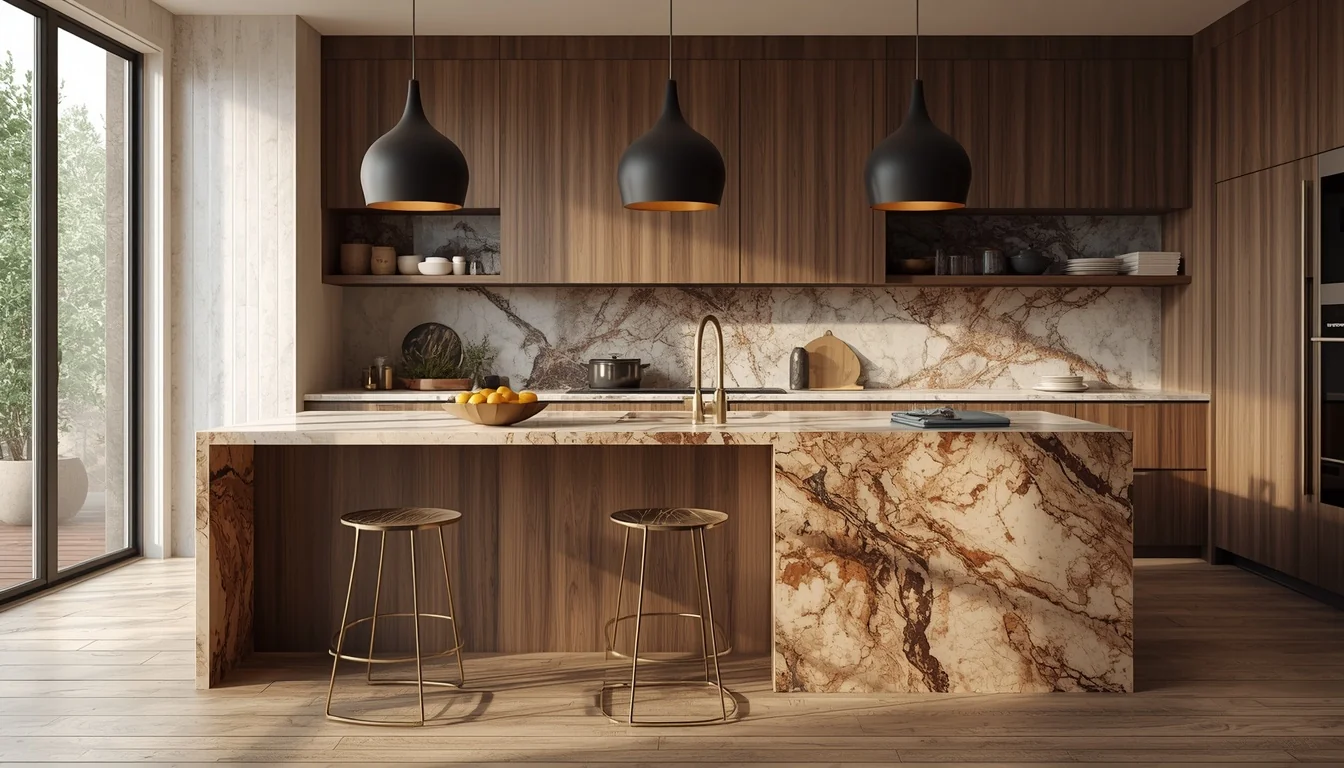
Walk into almost any kitchen renovation photo on Pinterest right now, and the eye goes to the same place first — the island. It’s no longer just a countertop with cabinets underneath. It’s where morning coffee happens, where homework gets done, where guests gather during a dinner party instead of standing awkwardly by the fridge.
That shift explains why kitchen island design has become one of the most searched, saved, and remodeled elements in the modern home. Designers are moving away from the plain rectangular block toward curved edges, waterfall countertops, bold color contrasts, and layouts built specifically around how people actually use the space — not just how it photographs.
Whether you’re working with a sprawling open-plan kitchen or a narrow galley layout, there’s a version of this trend that fits. Below are 25 kitchen island ideas, along with the materials, layouts, and budget considerations that separate a truly show-stealing island from one that just takes up floor space.
Table of Contents
What Makes a Kitchen Island “Steal the Show“?
A kitchen island earns its centerpiece status through a combination of three things: material choice, shape, and how well it supports the way people actually move through the room. An island can look striking in photos and still fail in daily use if the circulation space around it is too tight or the seating doesn’t work for how the household eats.
The biggest shift in island design over the past couple of years has been away from a purely functional block of cabinetry and toward something closer to a furniture piece — curved edges, contrasting colors, architectural countertop profiles, and materials chosen specifically to stand apart from the rest of the kitchen. At the same time, storage and function haven’t taken a back seat; the best islands now do both, blending closed cabinetry with open shelving, built-in appliances, and seating that actually gets used.
Part of this shift comes from how open-plan living has changed what a kitchen needs to do. When the kitchen, dining, and living areas share one continuous space, the island often becomes the visual dividing line between them — which means it needs to hold its own as a design feature from every angle, not just from directly inside the kitchen work zone.
Before choosing a specific style, it helps to define the island’s primary job in your kitchen: is it mainly a prep and cooking zone, a casual dining spot, extra storage, or a mix of all three? That single decision shapes almost every choice that follows, from size and shape to which of the 25 ideas below will work best in your space. A household that entertains often will lean toward different priorities than one that mainly uses the kitchen for quick weekday meals, and being honest about that upfront saves both money and regret later in the renovation process.
1. Waterfall Countertop Island
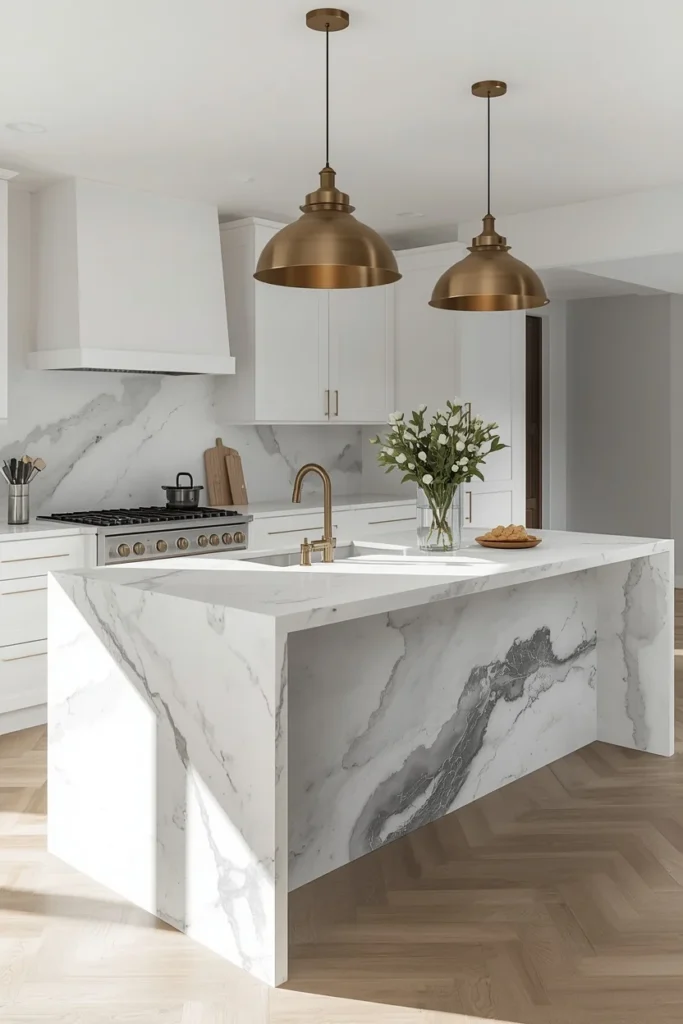
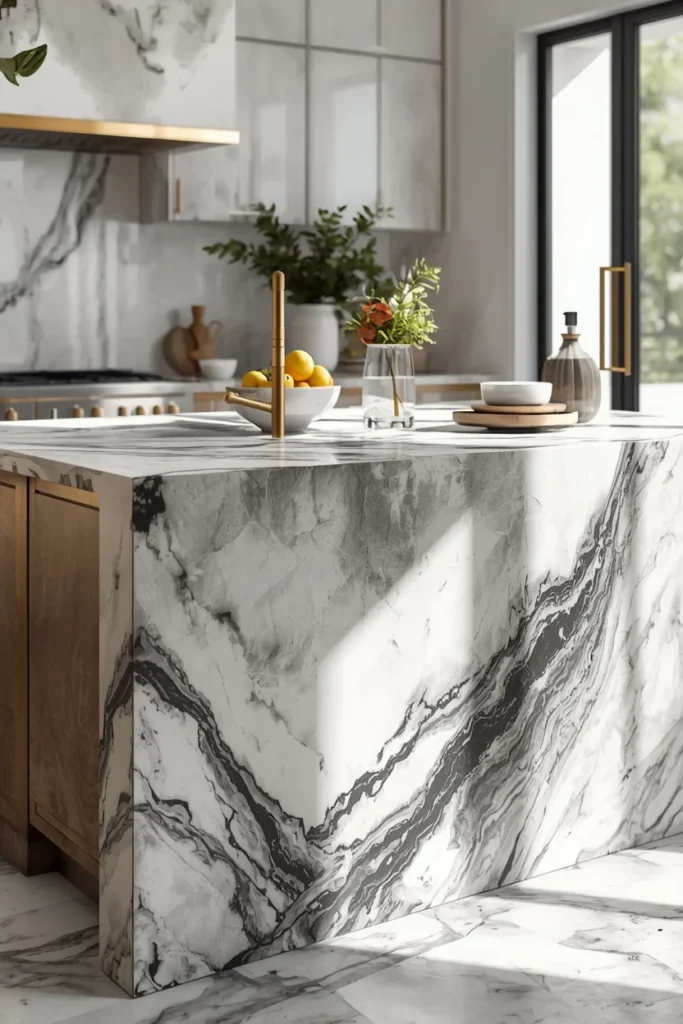
A waterfall countertop wraps the material seamlessly down the sides of the island rather than stopping at the edge, creating a single continuous surface from top to floor. It’s one of the most requested upgrades in kitchen remodels right now because it instantly reads as high-end, regardless of the rest of the kitchen’s style. Quartz and marble are the most popular materials, though the seamless look does add cost, since it typically requires more material and precise, mitered joints.
2. Curved and Rounded Islands
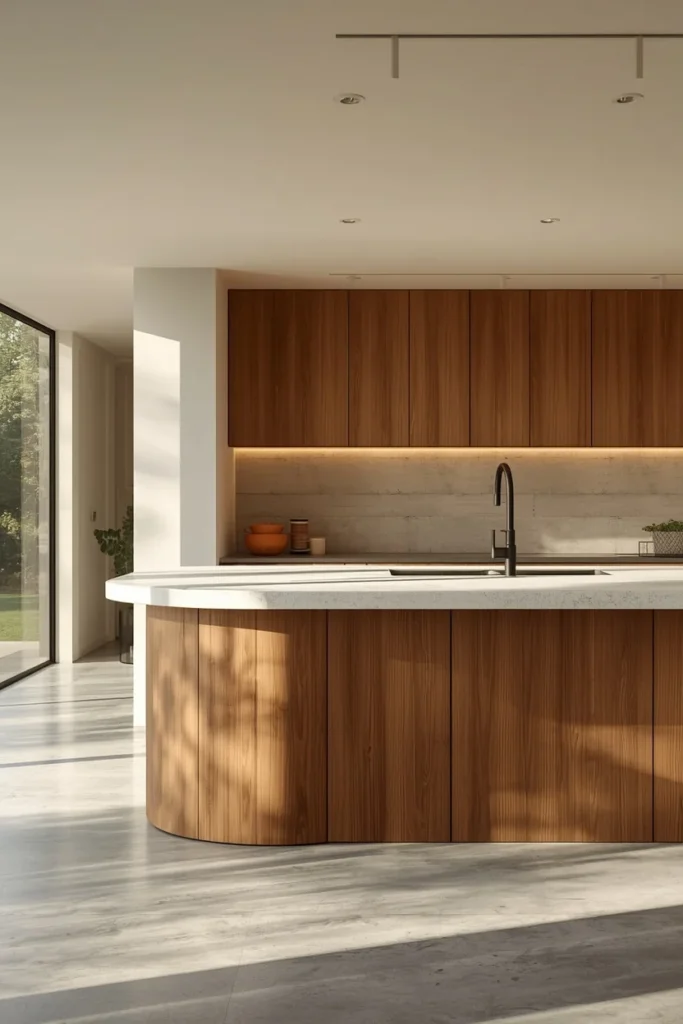
Straight edges are giving way to softer, sculptural shapes, with curved bases and gently rounded waterfall edges replacing sharp rectangular corners. Rounded islands improve circulation in tight kitchens since there’s no sharp corner to navigate around, and they photograph with a softer, more organic feel than a standard block. This style pairs especially well with veined stone, since the curve lets the natural veining flow rather than stopping abruptly at a straight edge.
3. Two-Tone Contrast Island
Painting or finishing the island in a different color than the surrounding cabinetry — often navy, forest green, matte black, or a rich burgundy — makes it the automatic focal point of the room. This works particularly well in kitchens with light, neutral perimeter cabinetry, since the contrast does the visual heavy lifting without requiring a full color renovation. Pairing a bold island with brushed brass or chrome hardware sharpens the contrast even further.
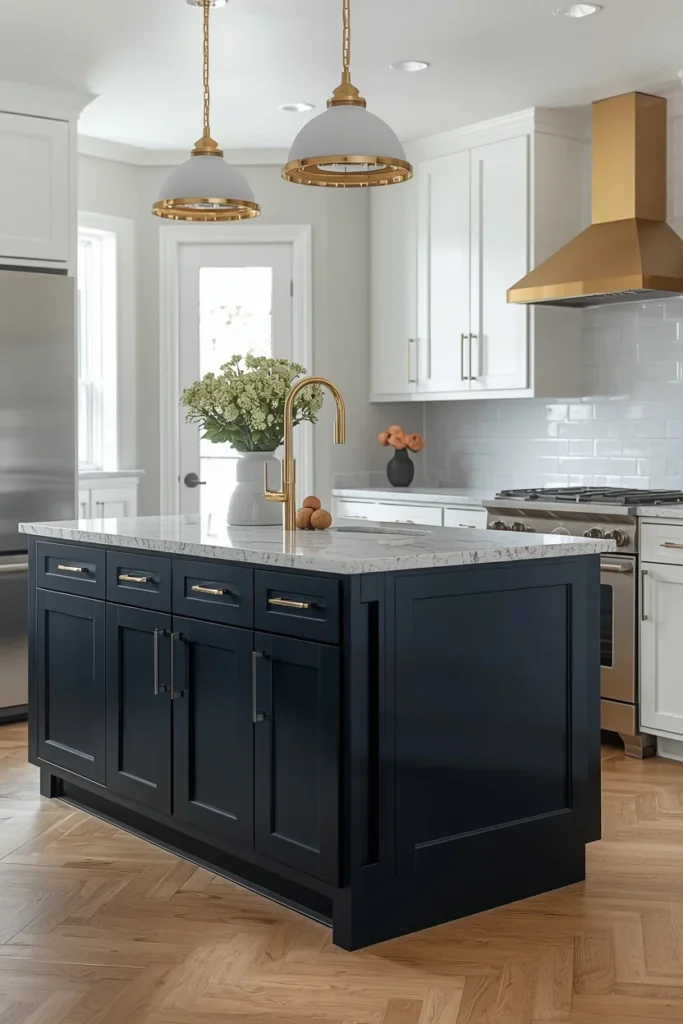
4. Warm Wood Tone Island
Oak, walnut, or mixed-species wood islands bring natural texture and warmth into kitchens that lean heavily on white or stone surfaces elsewhere. The visible grain softens an all-white kitchen and ties the space to adjacent living or dining areas finished in similar wood tones. This style also tends to age gracefully, since natural wood develops character over time rather than looking dated the way some painted trends can.
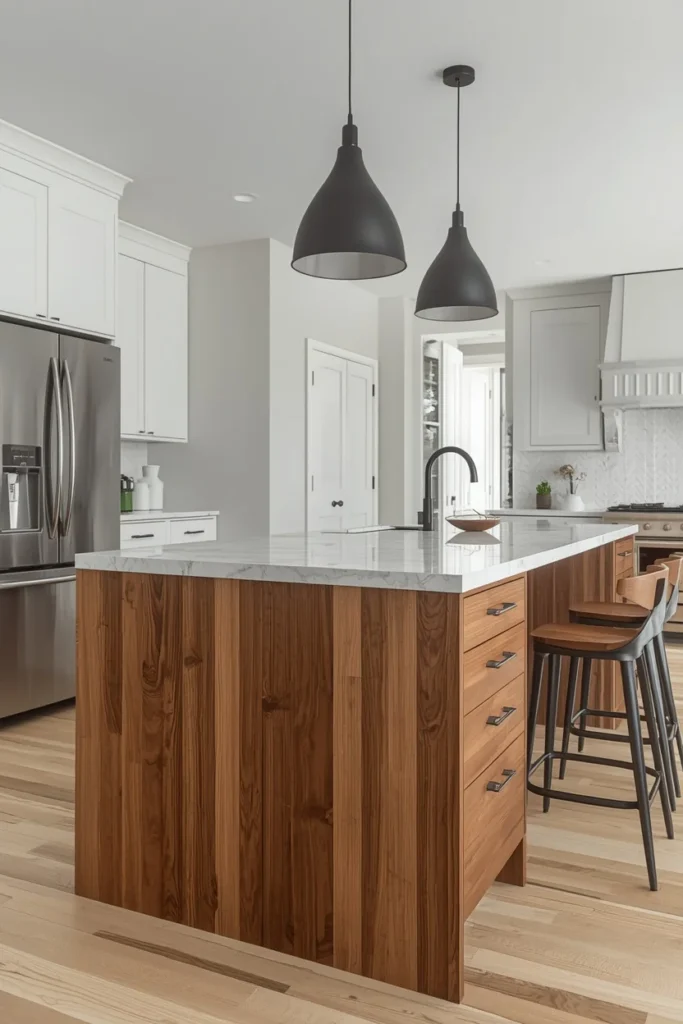
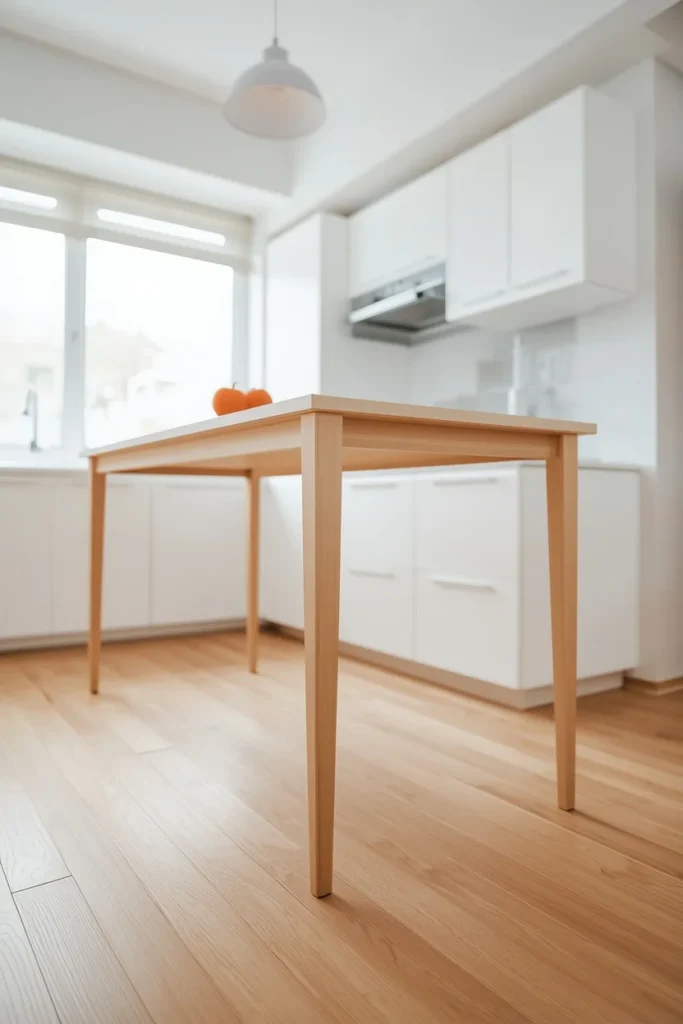
5. Kitchen Island Table Hybrid
Rather than a solid block of cabinetry, this style uses slimmer countertops, open legs, and a lighter overall frame that looks more like a dining table than a traditional island. It suits lofts and rowhouse kitchens where a bulky island would feel too heavy for the space, while also working beautifully in larger homes that want a more relaxed, furniture-forward feel. Open legs also make the space underneath easier to use for casual seating.
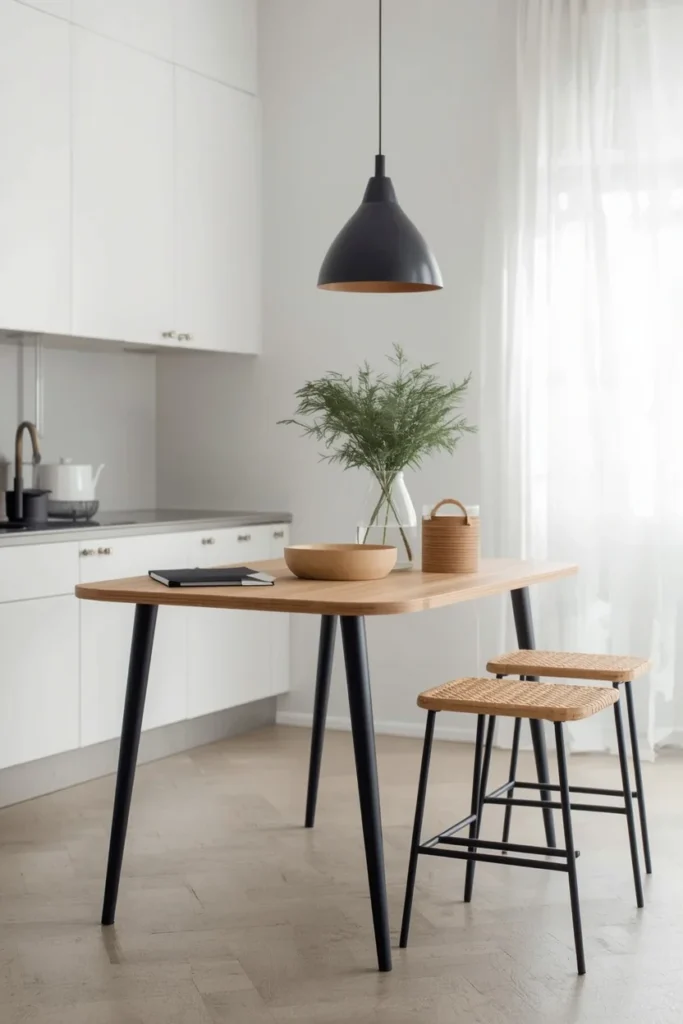
6. Double Island Layout
For larger kitchens, splitting island duties across two separate pieces — one for cooking and prep, one for seating and entertaining — creates clearer zones and reduces congestion during meal prep. One island typically houses the sink or cooktop, while the second serves as a dedicated bar or dining surface. This layout works especially well for households that host often, since guests can gather at one island without crowding the cook at the other. Because it demands significant floor space to keep both islands properly accessible, it’s generally reserved for kitchens with an open, generous footprint rather than a standard-sized renovation.
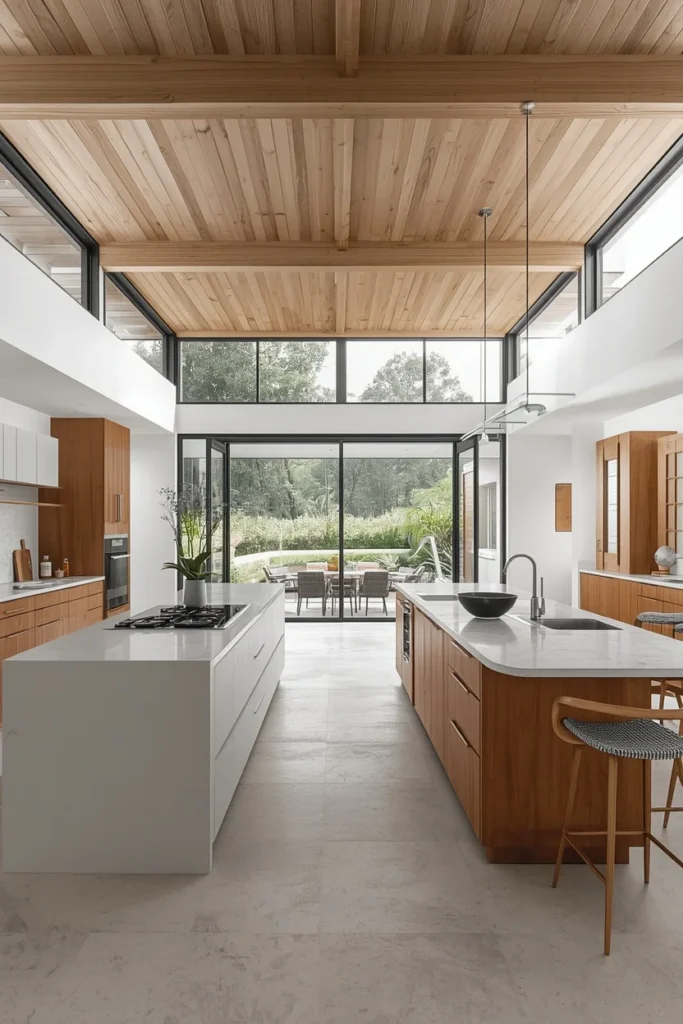
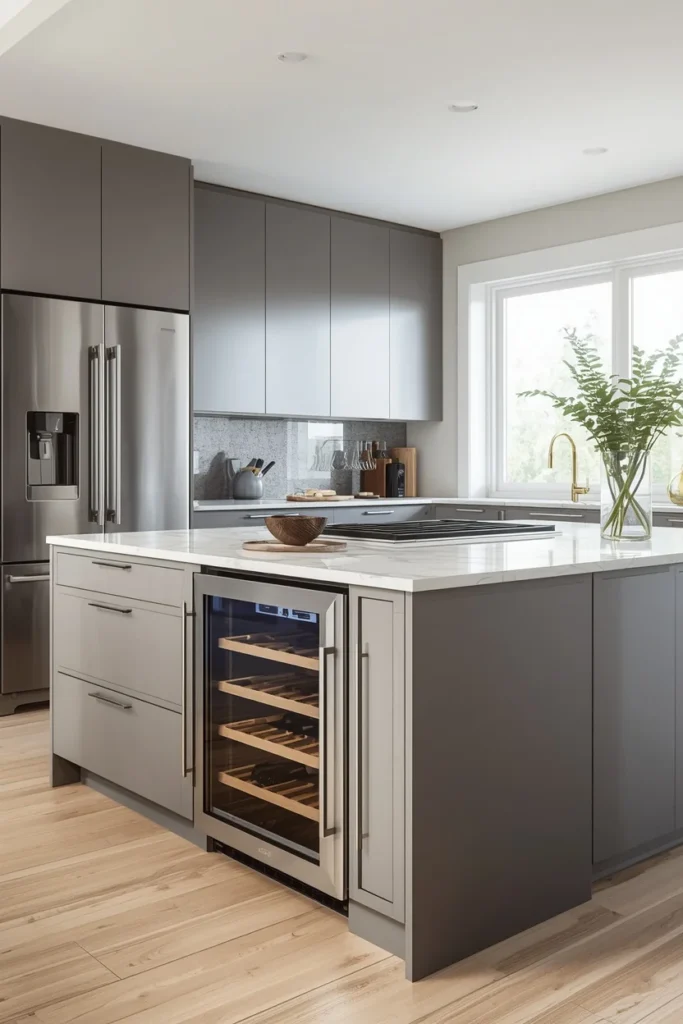
7. Built-In Appliance Island
Moving a dishwasher, microwave drawer, wine fridge, or beverage cooler directly into the island turns it into a true work hub rather than just a countertop. This setup keeps the perimeter walls freer for larger appliances like the range and refrigerator while distributing daily tasks more evenly around the kitchen. It does require additional plumbing and electrical work, so it’s best planned early in the renovation process rather than added afterward.
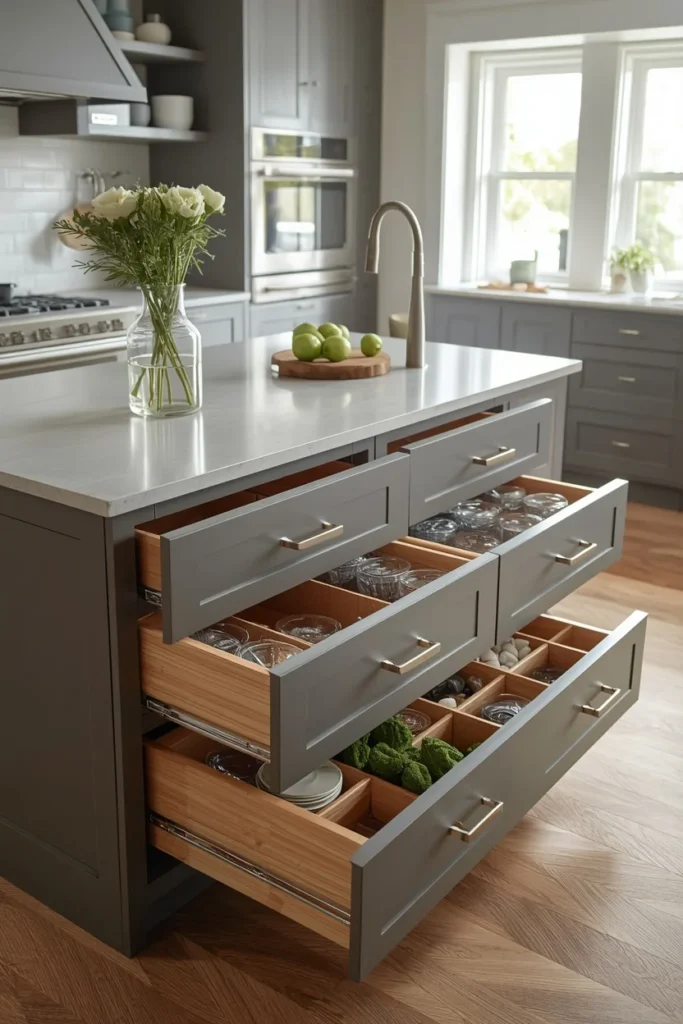
8. Storage-Packed Island
Deep drawers, vertical dividers, and hidden bins turn every inch of the island into functional storage, which is especially valuable in busy households or compact kitchens without much additional cabinetry. This approach keeps countertops clear since everyday items have a defined home rather than accumulating as clutter. Pull-out trash and recycling bins built into the island base are one of the most commonly requested additions in this category.
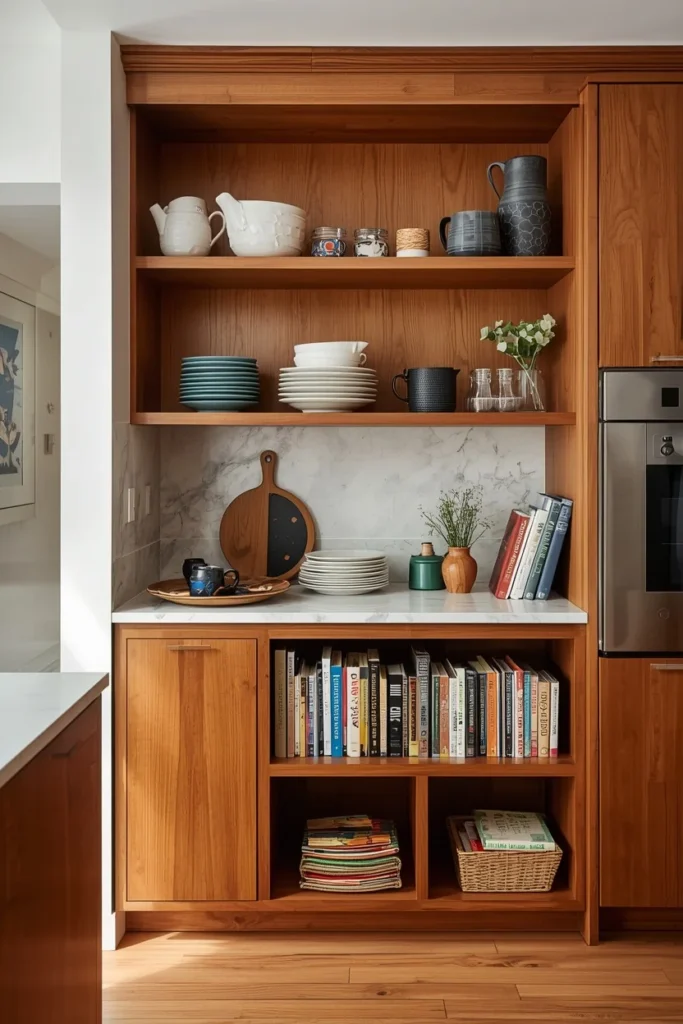
9. Mixed Open and Closed Storage Island
Rather than fully closed cabinetry, this style combines drawers and doors with a section of open shelving facing into the room, letting the island display personal pieces like ceramics or cookbooks. It signals a lived-in kitchen rather than a purely functional one and adds warmth without sacrificing the practical storage most households need. Keep the open section lightly styled so it reads as intentional rather than cluttered.
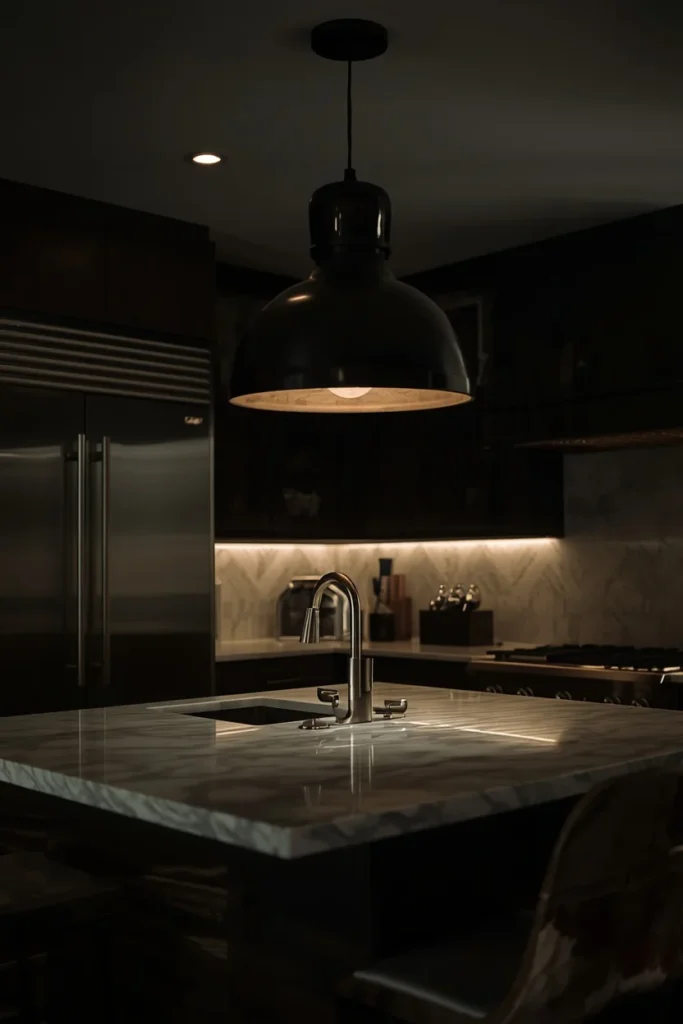
10. Statement Lighting Island
Bold pendant lighting positioned directly over the island turns it into the visual anchor of the kitchen, especially in the evening when natural light fades. Oversized single pendants, a cluster of smaller fixtures, or a linear light bar all work depending on the island’s shape and length. Choosing a finish that contrasts with the island itself — brass over a dark island, black over a light one — sharpens the overall composition.
11. Marble Waterfall Island
A step beyond a standard waterfall countertop, this version uses dramatically veined marble specifically chosen so the natural pattern continues unbroken around the island’s edges. It’s one of the most photographed island styles on design platforms because the veining itself becomes the decoration, requiring little else in the way of added detail. Marble does require more maintenance than quartz, so sealing and care matter more with this choice.
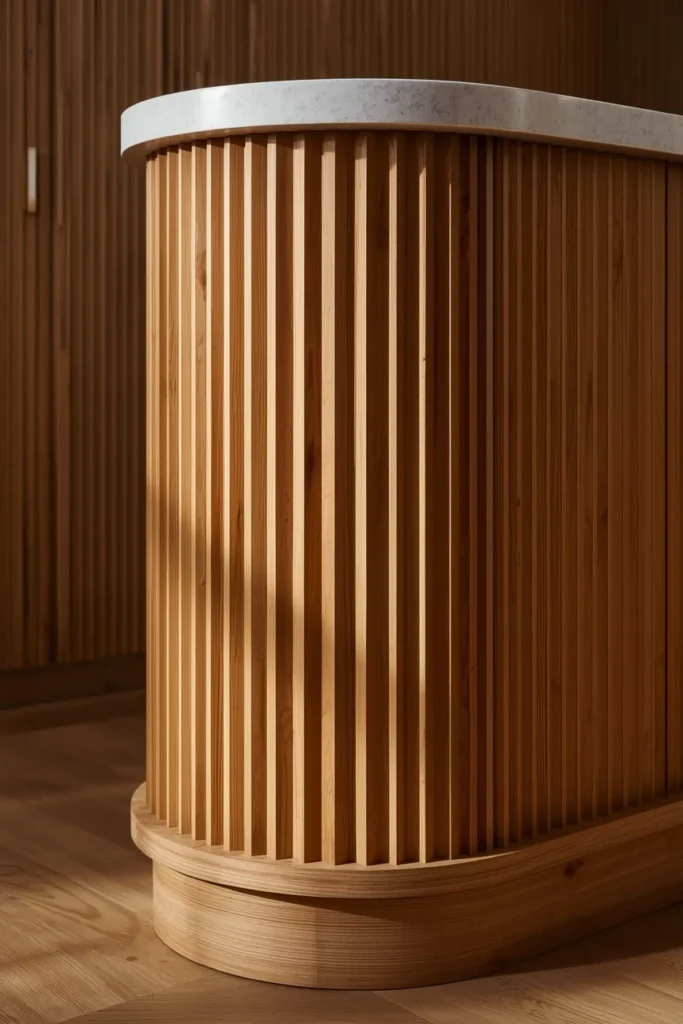
12. Reeded or Fluted Panel Island
Vertical reeded or fluted detailing on the island’s cabinet fronts adds texture and architectural interest without relying on color or pattern. This detailing catches light differently depending on the time of day, giving the island a subtle sense of movement that a flat cabinet front doesn’t have. It pairs particularly well with curved island shapes, since the vertical lines wrap elegantly around rounded corners.
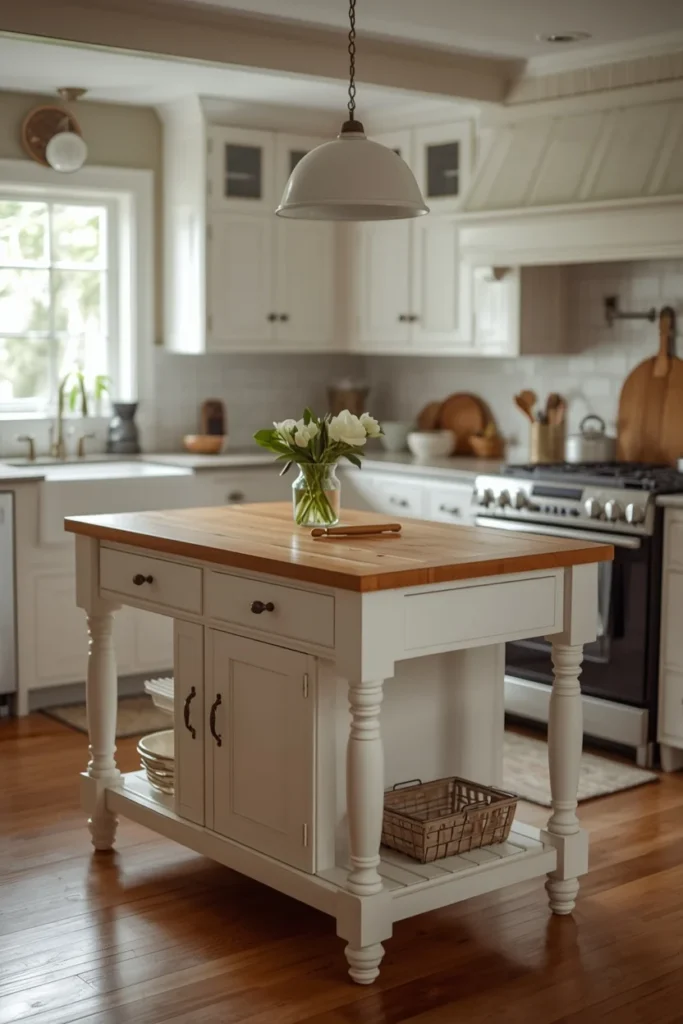
13. Farmhouse Island
A chunky butcher block or soapstone countertop paired with shaker-style cabinetry and turned or trestle legs gives a kitchen island classic farmhouse charm. This style often includes an apron-front sink built directly into the island, along with open shelving for everyday dishware. It remains one of the most consistently popular island styles because it balances rustic warmth with genuine practicality.
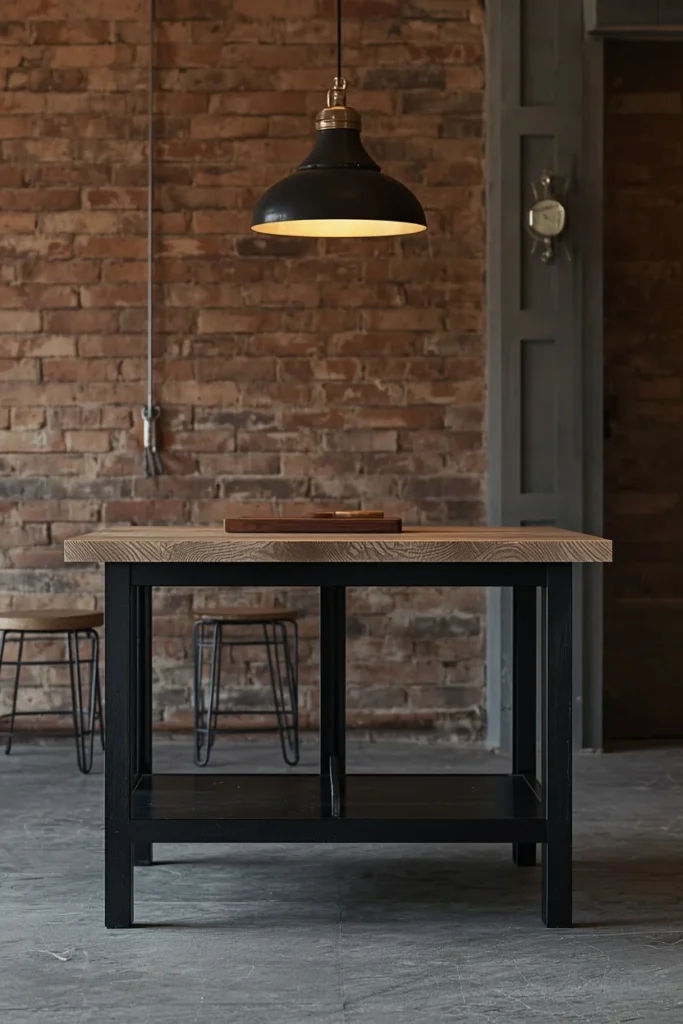
14. Industrial Metal-Accent Island
Combining a wood or stone countertop with exposed metal legs, brackets, or a steel countertop trim gives the island an industrial edge that suits loft conversions and modern renovations. Blackened steel or aged brass accents keep the look from feeling cold, especially when paired with warm lighting and natural wood tones elsewhere in the kitchen. This style works particularly well as a contrast piece in an otherwise soft, neutral kitchen.
15. Compact Rolling Island
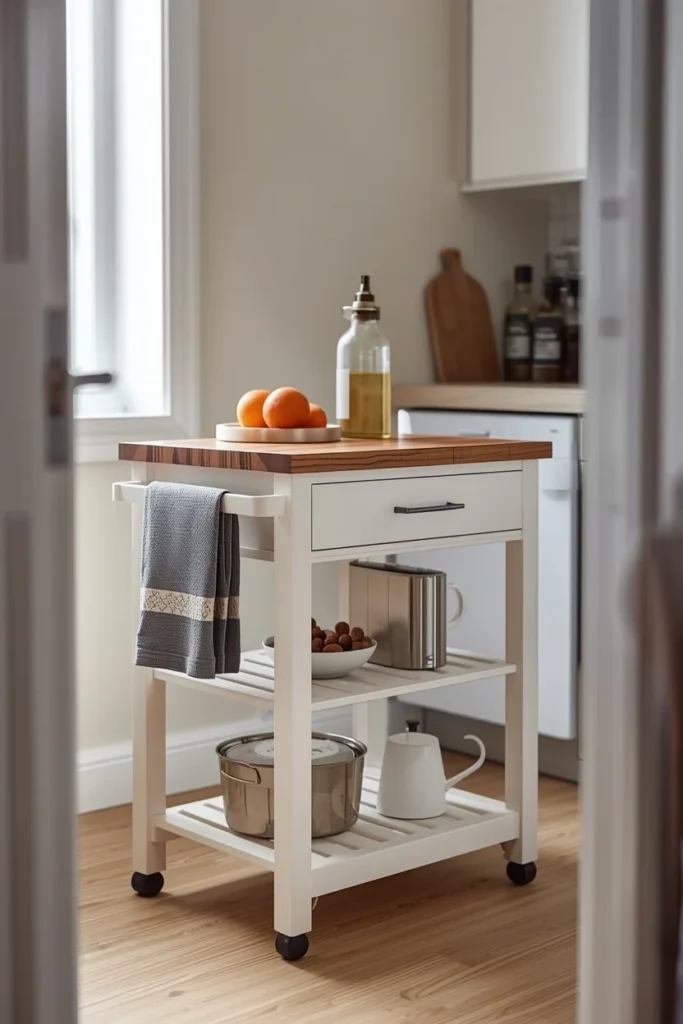
For renters or small kitchens where a fixed island isn’t possible, a rolling cart-style island on locking wheels adds prep space and storage that can be moved or tucked away as needed. These range from simple butcher-block carts to more elaborate versions with built-in shelving, hooks, and a towel bar. It’s the lowest-commitment way to test whether an island genuinely improves how a kitchen functions before investing in a permanent build.
16. Jewel Tone Island
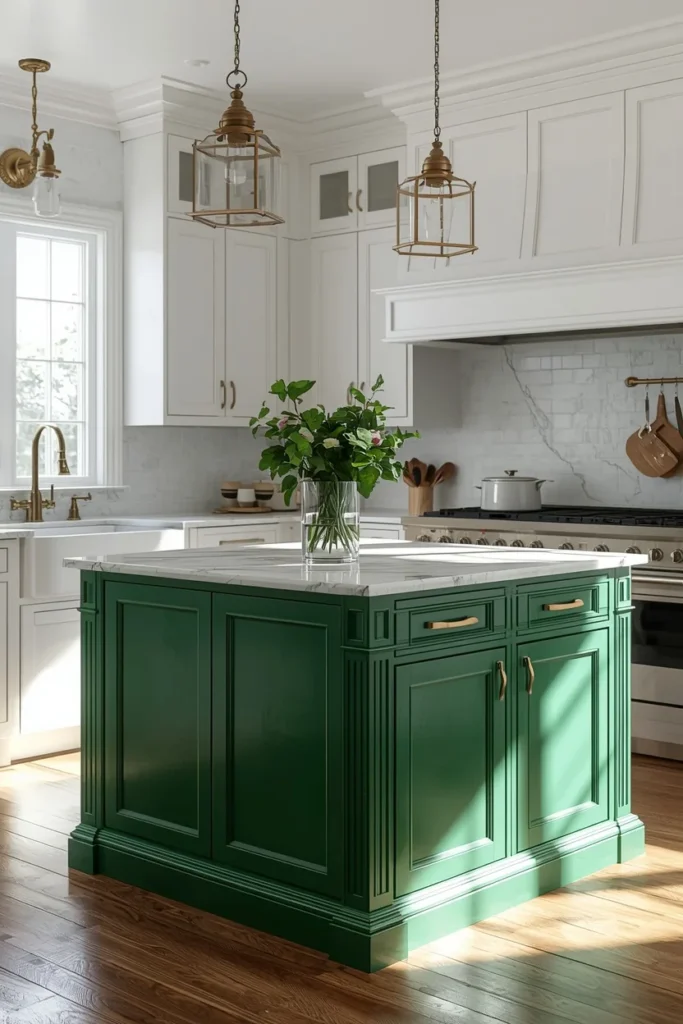
Emerald, sapphire, or deep teal islands introduce a rich pop of color that still functions almost like a neutral, pairing easily with warm wood, brass, and natural stone. This works especially well in kitchens flooded with natural light, where the color feels vibrant rather than heavy. In moodier, low-light kitchens, the same tone reads more sophisticated and jewel-like against darker surrounding finishes.
17. Island With Built-In Banquette Seating
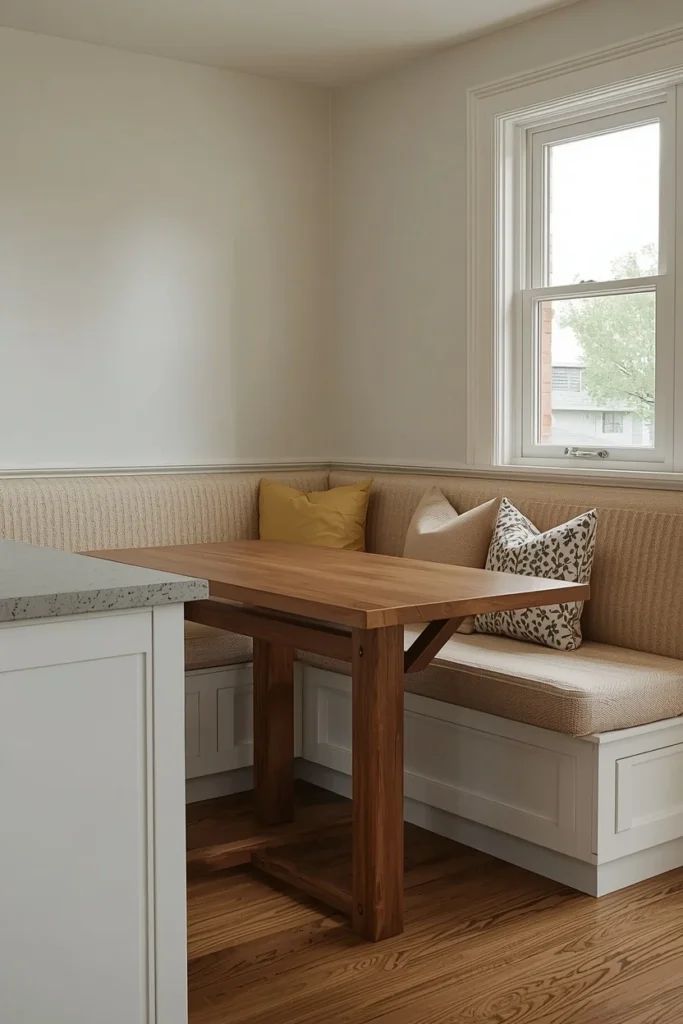
Rather than bar stools, this layout attaches upholstered bench seating along one side of the island, creating a cozier, more residential dining feel. It suits households that use the island as the primary everyday eating spot rather than just quick counter seating. Built-in storage underneath the bench seat is a practical bonus that standard stool seating can’t offer.
18. Parallel Seating Island
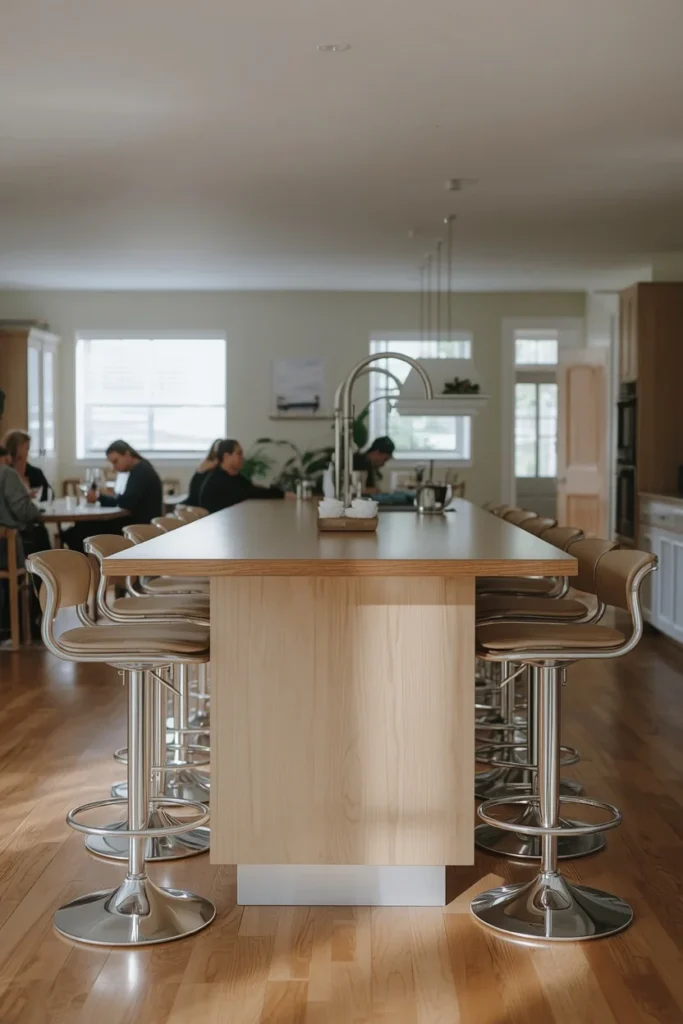
Instead of lining stools up along one side facing outward, this layout places seating on opposite sides of an extended island section, encouraging face-to-face conversation rather than everyone staring at their phones. Designers have increasingly moved toward this arrangement because it makes the island function more like an actual dining table. It requires a slightly wider island footprint but pays off in how the space actually gets used.
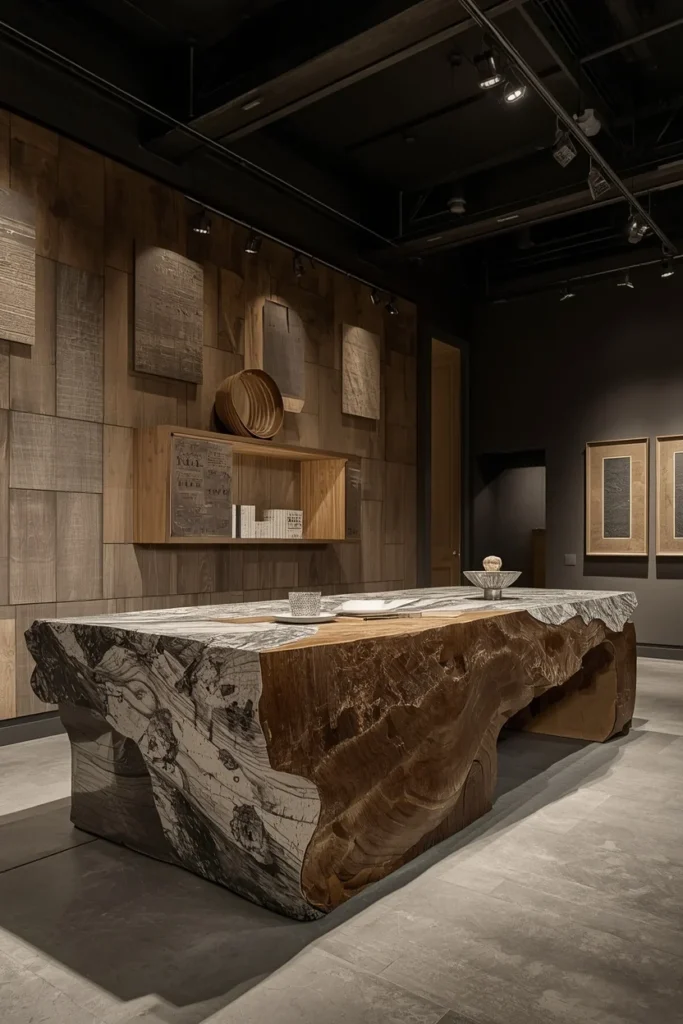
19. Sculptural Furniture-Style Island
Treating the island less like standard cabinetry and more like a freestanding sculptural piece — with an artisanal base, unusual stone pairing, or gallery-like presence — creates a genuine architectural centerpiece. This approach borrows from furniture design rather than kitchen cabinetry conventions, often mixing materials like stone and wood in unexpected combinations. It suits kitchens where the island is meant to be admired as much as used.
20. Leggy, Lifted Island
Raising the island on slim, furniture-style legs rather than a solid cabinet base gives it a lighter, more approachable feel, especially in open-plan homes where the kitchen sits alongside dining and living spaces. The visible floor space underneath makes the room feel less kitchen-heavy and more like one continuous living area. This style suits contemporary and transitional kitchens more than traditional or heavily rustic ones.
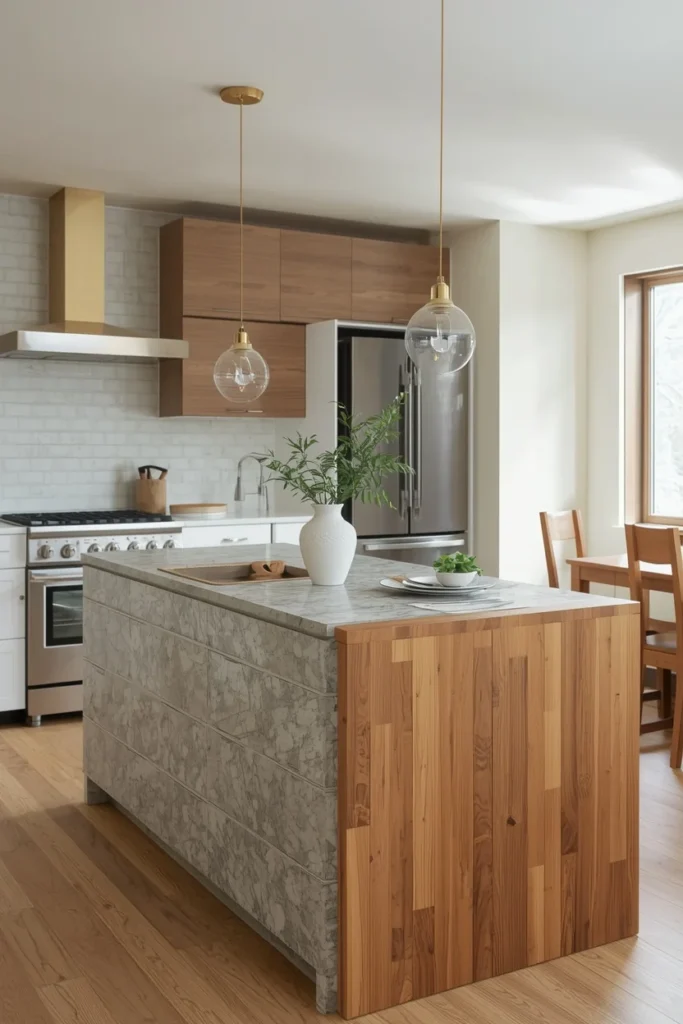
21. Mixed-Material Island Top
Splitting the island countertop into two distinct materials — stone on one section, wood on another — visually zones the surface into a cooking area and a casual dining or serving area. This is a practical way to signal function without adding a physical divider, and it adds visual interest that a single uninterrupted material doesn’t offer. Butcher block paired with quartz or marble is the most common version of this combination.
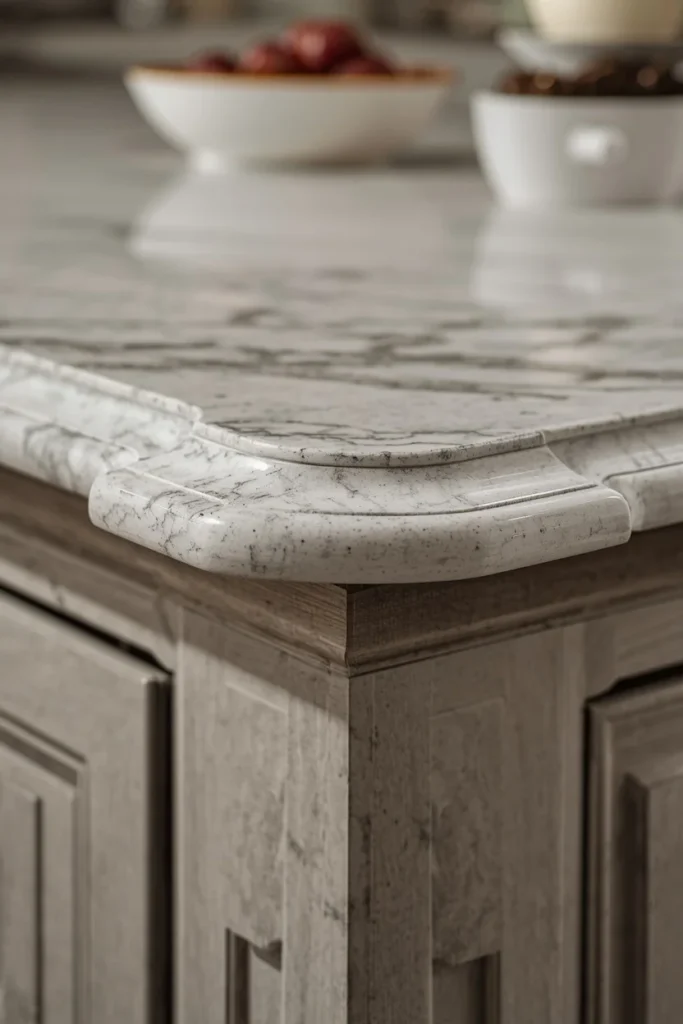
22. Decorative Edge Profile Island
Moving beyond a standard square edge, islands with stepped, beveled, ogee, or shark-nose countertop profiles add a level of architectural detail that’s easy to underestimate until you see it in person. These profiles catch light and shadow differently than a flat edge, giving the countertop a sense of depth even before any other styling is added. This upgrade works on any material and is one of the more affordable ways to elevate an otherwise standard island.
23. Glass-Top or Backlit Island
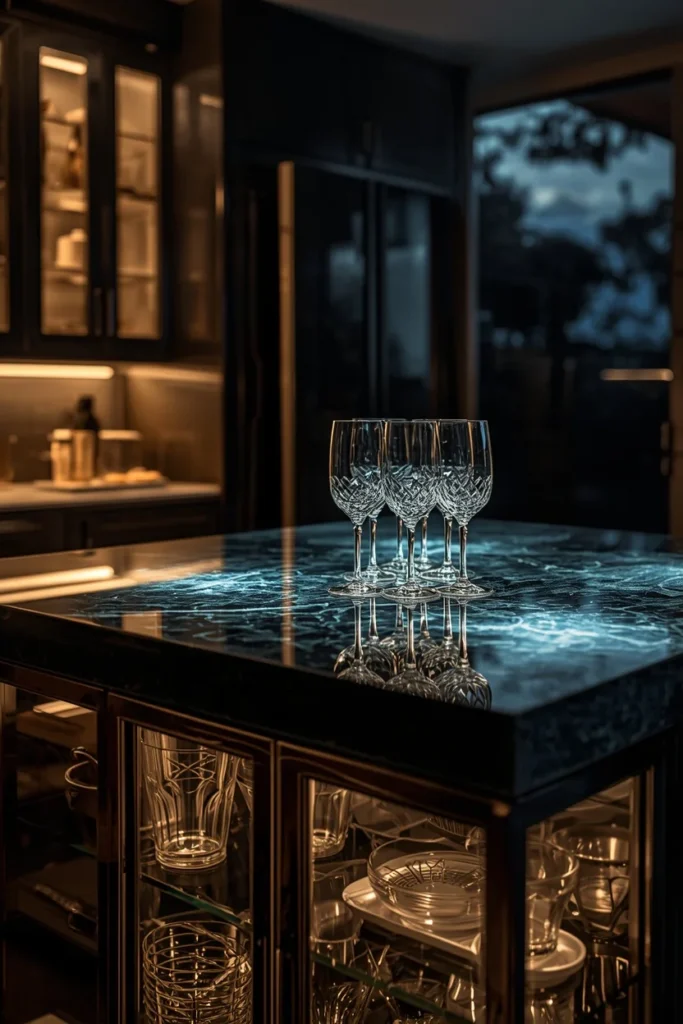
A glass countertop, sometimes backlit from underneath, gives an island a modern, reflective quality that stands apart from stone or wood alternatives. Glass-front cabinet doors on the base can also showcase glassware or collected pieces, turning storage into a design feature. This style suits contemporary kitchens and works especially well as a conversation-starting accent rather than the kitchen’s sole design statement.
24. Reclaimed Material Island
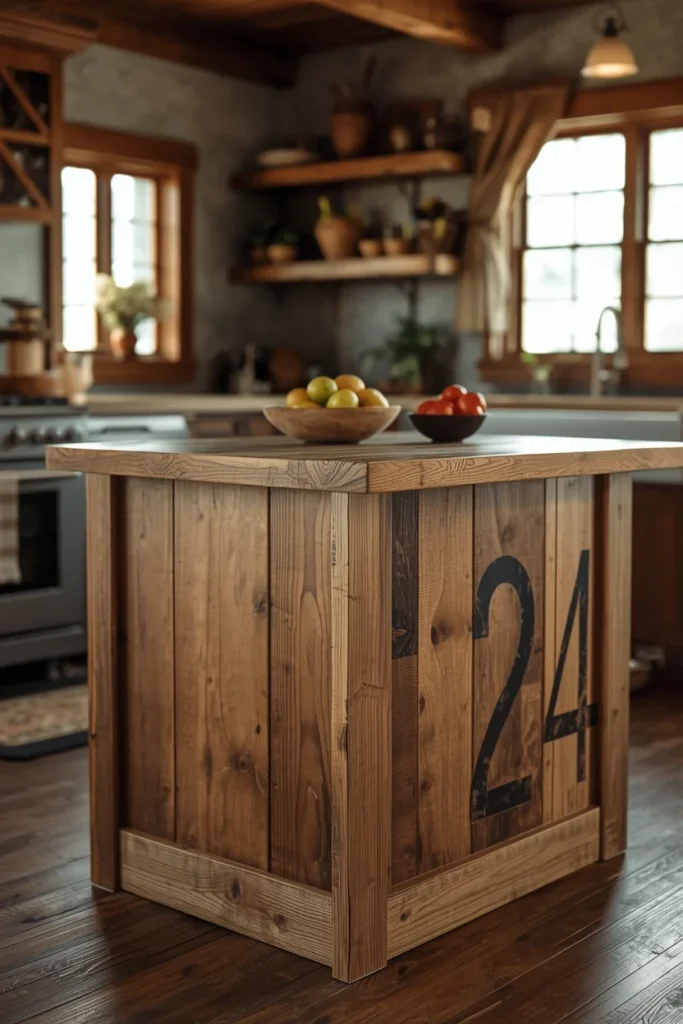
Building the island base from reclaimed barn wood, salvaged brick, or repurposed stone merges sustainability with rustic character that’s difficult to replicate with new materials. Each piece carries visible history — nail holes, weathering, uneven grain — that gives the island a one-of-a-kind quality. This approach suits farmhouse, rustic, and eclectic kitchens where a slightly imperfect, lived-in look is the goal rather than a drawback.
25. Oversized Statement Island
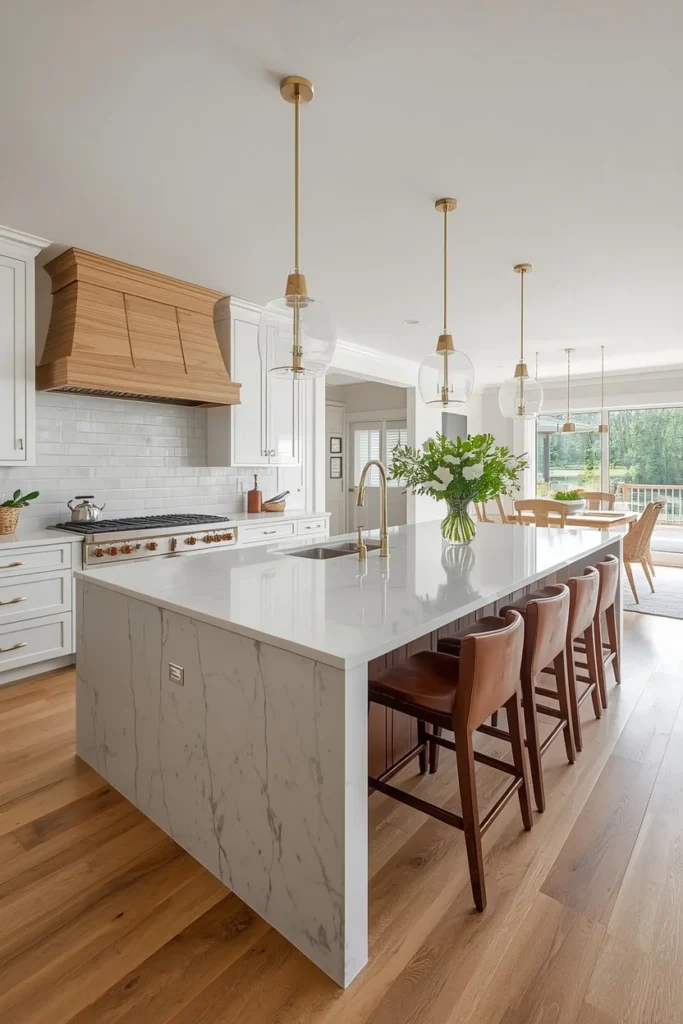
For larger kitchens with the square footage to support it, an oversized island — sometimes stretching 10 feet or more — becomes the undeniable centerpiece of the entire home, not just the kitchen. This size accommodates a full prep zone, built-in appliances, and generous seating all in one piece, reducing the need for a separate dining table nearby. It requires careful planning around clearance and circulation, since an island this size only works well when there’s enough surrounding floor space to move comfortably around it. Structural support also becomes a bigger consideration at this scale, particularly for waterfall countertops or heavier stone materials that need reinforced cabinetry underneath to carry the added weight.
Choosing the Right Island Shape for Your Kitchen
Shape has as much impact on how an island functions as its material does, and it’s worth weighing before committing to a specific design.
A rectangular island remains the most space-efficient option and works well in almost any kitchen layout, offering the most usable countertop and storage per square foot. A curved or rounded island improves circulation in tighter kitchens and softens a room full of straight cabinetry lines, though it typically sacrifices some storage capacity compared to a rectangular equivalent. An L-shaped or angled island can help define separate zones — cooking on one leg, seating on the other — but requires more floor space to avoid feeling cramped.
For narrow galley kitchens, a rectangular island scaled to a shorter length usually outperforms a curved design, simply because straight edges make the most of limited width. In larger, open-plan kitchens, a curved or sculptural shape has more room to breathe and can become the standout architectural feature the space is built around.
Designer Tips for Island Layout and Flow
Getting an island’s visual impact right matters less if the layout doesn’t actually work day to day, so a few structural details deserve attention before finalizing any design.
Leave enough clearance on all sides. Most designers recommend at least 36 to 42 inches of clear walking space around an island, more if it includes seating that people need to pull out and sit down into comfortably.
Match island height to its function. A prep-focused island typically sits at standard 36-inch counter height, while an island meant for casual dining works better at 42-inch bar height with matching stools.
Plan electrical and plumbing early. Built-in appliances, outlets, and any sink or cooktop on the island require wiring and plumbing decisions made before cabinetry installation, not after.
Consider sightlines from the rest of the home. In open-plan layouts, the island is often visible from the living or dining area, so its finish and color should feel intentional from multiple angles, not just from directly inside the kitchen.
Balance the island’s scale with the room. An island that’s too large makes circulation difficult, while one that’s too small can look like an afterthought in a large kitchen; a rough guideline is leaving at least four feet of clearance to the nearest wall or cabinetry run on every side.
Think about traffic flow, not just standing space. If the island sits between the sink, stove, and refrigerator — the classic kitchen work triangle — make sure the busiest paths through that triangle aren’t blocked by stool seating or an appliance door that swings into the walkway.
Don’t forget the island’s role after dark. A pendant light chosen purely for its daytime look can feel too dim or too harsh once it’s the primary light source in the evening, so testing bulb warmth and brightness before final installation is worth the extra step.
Budget Alternatives
A fully custom island with waterfall stone and built-in appliances can run well into five figures, but there are meaningful ways to get a similar visual impact for less.
- Prefab or semi-custom islands cost significantly less than a fully custom build while still offering a range of finishes and configurations.
- Painting an existing island in a bold contrast color delivers much of the two-tone trend’s visual impact without any structural change.
- Adding a decorative edge profile or new hardware to an existing island countertop and cabinetry upgrades the look without a full material replacement.
- A rolling cart-style island provides extra prep space and storage in small kitchens or rentals at a fraction of a built-in island’s cost.
- Reusing existing base cabinetry and only replacing the countertop can deliver much of a full island refresh’s visual impact while keeping the structural cabinetry costs off the table entirely.
- Choosing a decorative edge profile in a less expensive material, like laminate finished to mimic stone, can approximate the architectural detailing trend without the price tag of natural stone.
Whichever budget-friendly route you choose, prioritizing the changes that are visible from across the room — color, edge profile, lighting — tends to deliver more perceived value than smaller details that only show up on close inspection.
Small Kitchen Island Solutions
Even a compact kitchen can support an island with the right scale and layout choices.
- A narrow island, roughly 24 to 30 inches deep, still provides prep space and storage without overwhelming a tight floor plan.
- Rolling or mobile islands can be tucked against a wall when not in use, freeing up circulation space for daily movement.
- Choosing a lighter countertop and cabinet finish for the island helps it feel like part of an open, airy kitchen rather than adding visual bulk.
- Skipping built-in seating in favor of a simple overhang for one or two stools keeps the footprint minimal while still adding a casual seating option.
- A slim peninsula attached to existing cabinetry can deliver much of an island’s function — extra counter space, a spot for stools — without needing floor space on all four sides.
- Choosing an island with a single open end rather than closed cabinetry on every side keeps sightlines open and prevents the kitchen from feeling more enclosed than it already is.
Common Mistakes to Avoid
Even a beautifully finished island can fall short if a few practical details are overlooked during planning.
- Undersizing clearance space, which makes the kitchen feel cramped no matter how good the island itself looks.
- Choosing a countertop material that doesn’t match the island’s actual use, such as a delicate marble on an island used heavily for food prep without proper sealing.
- Skipping electrical planning for an island that will eventually need outlets, then retrofitting later at a higher cost.
- Matching the island too closely to the rest of the kitchen, which erases the contrast that makes it stand out as a focal point.
- Overcrowding the island with too many features — a sink, cooktop, seating, and full storage all in one piece can result in a design that does none of those jobs particularly well.
- Underestimating countertop maintenance needs, especially with porous stone like unsealed marble near a heavily used cooking zone.
- Placing seating on the wrong side, such as facing a wall or a busy walkway instead of the main living space, which makes the seating area feel like an afterthought rather than an inviting spot to sit.
Shopping Priorities
| Priority | Why It Matters | Budget Suitability |
| Countertop material | Defines the island’s overall look and durability | Worth prioritizing spend |
| Cabinetry construction | Affects long-term function and storage quality | Mid-to-high budget |
| Electrical and plumbing | Essential if adding a sink, cooktop, or built-in appliances | Plan and budget early |
| Lighting | High visual impact for relatively low cost | Affordable, high impact |
| Seating and hardware | Easiest to upgrade or swap later without structural cost | Flexible, lower priority initially |
Conclusion
A kitchen island earns its place as the room’s centerpiece through a mix of good material choices, a shape that suits the space, and a layout that genuinely holds up to daily use — not just how it photographs on day one. Whether that means a dramatic marble waterfall countertop, a warm reclaimed-wood base, or a simple rolling cart in a small kitchen, the ideas above offer a real starting point for the decisions that matter most.
If a full custom build isn’t in the budget right now, start with the changes that cost the least but move the needle the most: a bold paint color, updated hardware, a statement pendant light, or a decorative edge profile. Each one brings a kitchen closer to that “steals the show” feeling long before a full renovation is on the table.
One practical next step: measure the clearance space around your current island or planned island footprint before choosing a final size and shape. That single measurement will do more to determine whether the island actually works day to day than any photo of someone else’s kitchen ever could.